
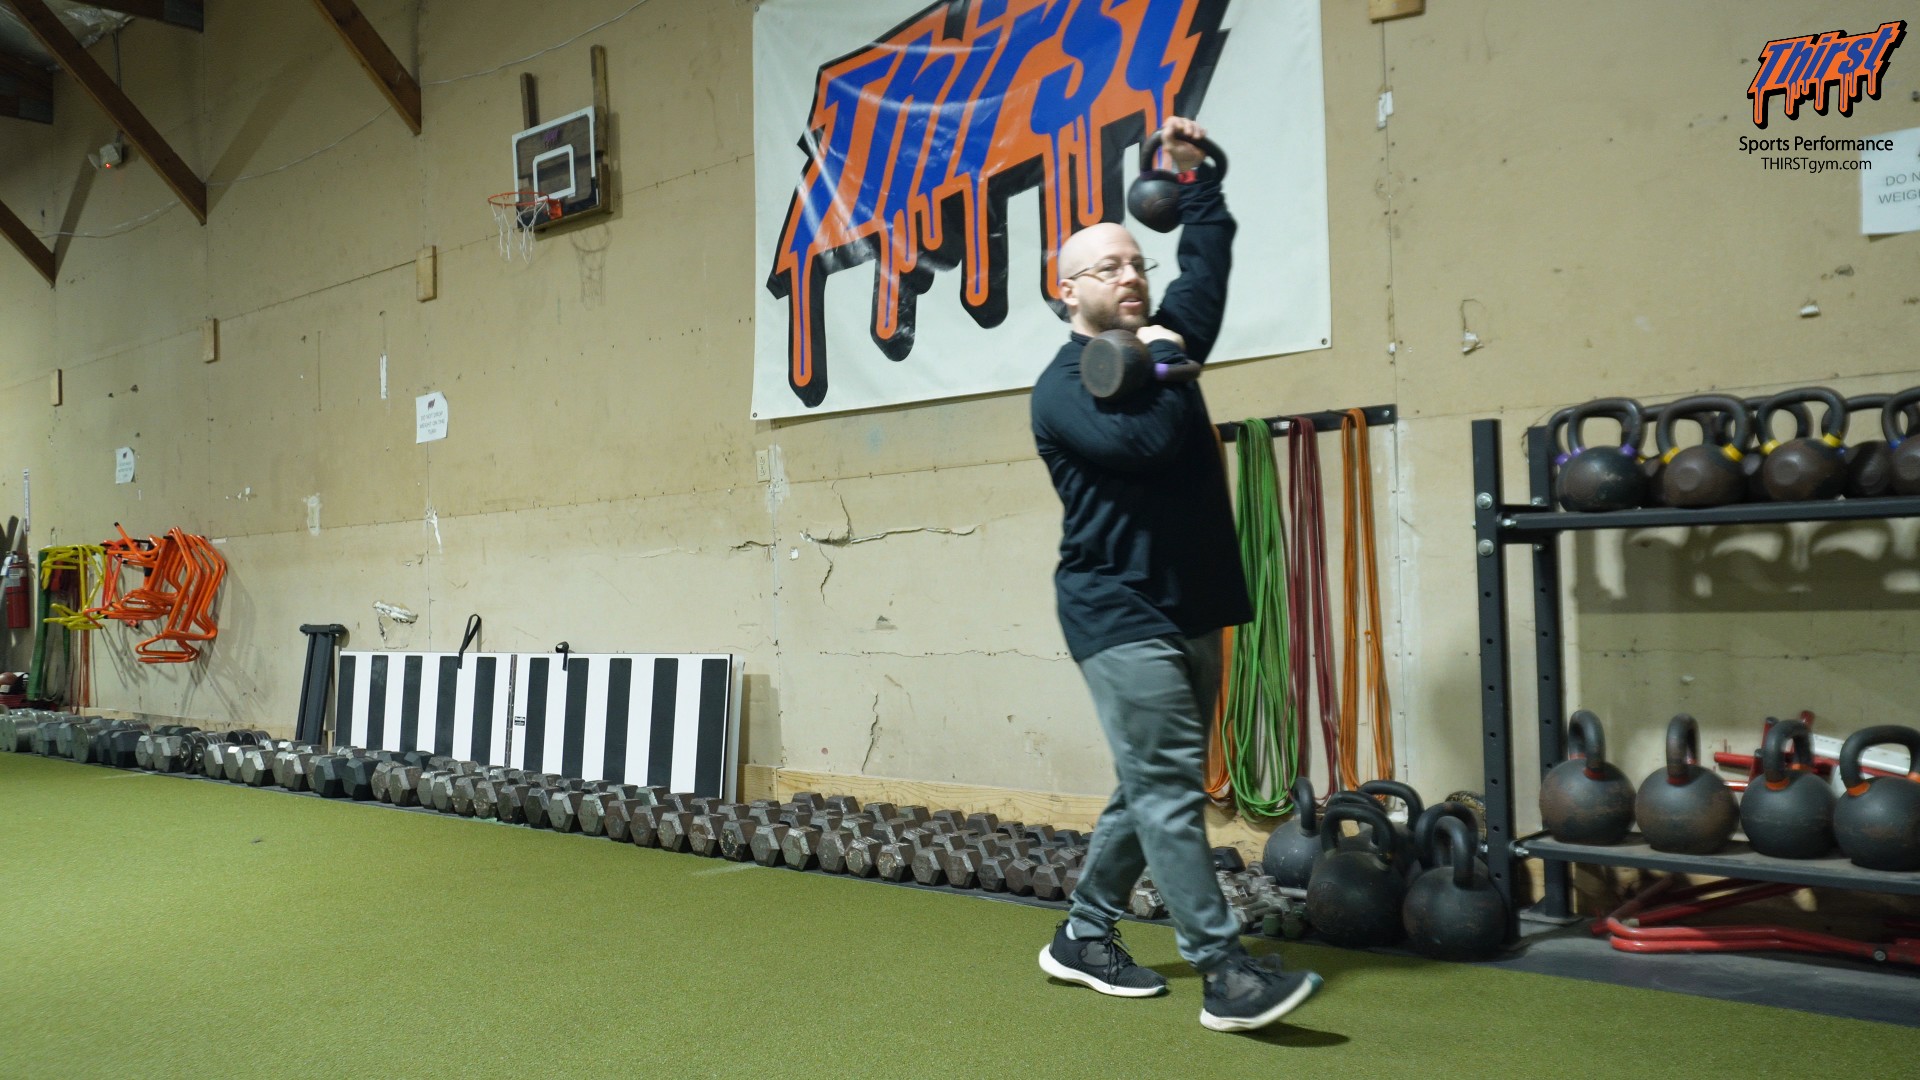
Offset Kettlebell Front Rack Carry with Waiter Carry: The Full-Body Loaded Carry That Builds a Bulletproof Trunk and Shoulders
Loaded carries are one of the most underrated tools in strength and conditioning, and the offset kettlebell front rack carry with waiter carry might be one of the best variations most lifters have never programmed. It hides an enormous amount of work inside a movement that looks deceptively simple: you pick up two kettlebells, put one in the front rack and one overhead, and walk. But the moment you load those two positions unevenly, your trunk, shoulders, and hips are forced into a coordinated fight to keep you upright, stacked, and moving. This single exercise delivers abdominal strength, shoulder stability, upper-back engagement, and quality hip health all at once — which is exactly why it earns a spot in so many training programs.
This guide breaks the movement down completely, from the biomechanics of why offset loading is so effective, to precise coaching cues for each hand position, to how and where to program it for general fitness, athletes, and strength-sport competitors. Whether you have never touched a kettlebell carry or you are looking to sharpen a variation you already use, you will be able to follow this article on its own and put it to work in your very next session
Watch the video below on how to maximize this exercise.
What Is the Offset Kettlebell Front Rack Carry with Waiter Carry?
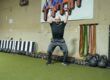
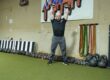
The exercise is a combination loaded carry performed with two kettlebells held in two different positions at the same time. One kettlebell sits in the front rack position, tucked against the front of your shoulder with your hand threaded through the horn of the bell. The other kettlebell is pressed directly overhead into what is known as the waiter carry position, with your arm locked out and the bell balanced above your shoulder. From there, you simply walk — either across an open space or, if you are limited on room, marching in place.
The word “offset” is doing a lot of work in that name. Because one load is racked at shoulder height and the other is fixed overhead, the two sides of your body are being challenged in completely different ways at the same moment. This asymmetry is not a flaw in the exercise — it is the entire point. You do not need to use matched kettlebells for this, and in most cases you should not. If you are working at an honest intensity, the two bells will almost certainly be different weights, because the overhead position simply cannot support as much load as the front rack.
Why Offset Loading Changes Everything
To understand why this carry is so valuable, you have to understand what your body is fighting against. When you load one side of your body more than the other, gravity tries to pull you sideways toward the heavier implement. Your job is to resist that pull and stay tall and stacked. This resistance to bending sideways is called anti-lateral flexion, and it is one of the primary ways your deep core musculature — the obliques, the quadratus lumborum, and the deeper stabilizers of the spine — earns its keep.
Most people train their abs by flexing the spine, doing crunches or sit-ups that shorten the distance between the ribcage and the pelvis. That has its place, but it ignores the far more important job the core performs in real life and in sport: keeping the spine stable while forces try to move it. An offset carry is a masterclass in exactly that. The heavier or more awkward side is constantly trying to tip you, and every step you take is a small rep of your trunk saying “no.” Add in the overhead load on the opposite side, and you also introduce a subtle anti-rotation demand, because the two loads sit on different points relative to your center of mass. The result is a trunk that has to brace in three dimensions at once.
Breaking Down the Front Rack Position
The front rack side is the more stable and typically heavier of the two positions. To set it, clean or curl the kettlebell up to shoulder height and thread your hand through the horn so the bell rests against the back of your forearm and the front of your shoulder. A useful cue here is to cock your wrist back toward your face, almost as if you were about to punch yourself lightly in the chin. That wrist position keeps the bell settled and your forearm vertical, which stacks the load efficiently over your elbow and keeps it from drifting away from your body.
In the front rack, you want the elbow tucked in and the bell hugged close. Letting the elbow flare or the bell sag forward pulls the load away from your center of mass and dramatically increases the demand on your shoulder and your lower back. Keep the ribcage down and the bell close, and the front rack becomes a stable, powerful anchor for the whole movement.
Breaking Down the Waiter Carry Position
The overhead side — the waiter carry — is where the real stability challenge lives. Press the second kettlebell straight overhead until your arm is locked out, with the bell balanced above your shoulder and your knuckles pointing toward the ceiling. The cue that works best here is to actively reach and punch up toward the ceiling, trying to make yourself as tall as possible through that arm. This active reach is not just for show; it recruits the serratus anterior and the muscles that upwardly rotate your shoulder blade, which is what creates a stable, healthy overhead position rather than a passive, dumped-out one.
The critical caveat is that you must reach up without extending through your thoracic spine. In plain terms, do not arch your back to get the bell higher. The distance should come from your shoulder and scapula reaching, while your ribs stay pulled down and your midsection stays braced. If you find yourself cranking your lower back and flaring your ribs to lock the bell out, that is a sign the load is too heavy or your overhead mobility needs work before you load it this way. This is precisely why the waiter carry side is almost always lighter than the front rack side — stabilizing a load overhead through a full range of motion is far more demanding than supporting one against your shoulder.
The Core and Midsection Demand
Put those two positions together and walk, and your trunk lights up. The offset load pulls you toward one side while the overhead load challenges your ability to keep your ribcage stacked over your pelvis. To stay upright, your abdominals, obliques, and deep spinal stabilizers have to fire continuously, and they have to do it while you are also breathing, walking, and controlling two independent implements. That combination of demands is what makes loaded carries so effective for building a trunk that is not just strong in isolation but strong in the way athletic movement actually requires.
The key throughout is position. The goal is not to arch backward or lean away from the load, but to stay as tall and as far forward through the chest as you can while keeping the ribs down. Think of your torso as a canister that needs to stay sealed and stacked from top to bottom. When you hold that position under an offset load, the abdominal and midsection work you accumulate over even a short walk is substantial.
Shoulder Stability and Upper-Back Health
Beyond the core, this carry is a genuine gift for your shoulders and upper back. The overhead position demands active, stable shoulder support, training the rotator cuff and scapular stabilizers to hold a load in a position many people rarely visit. The front rack side, meanwhile, keeps the upper back engaged and the shoulder packed. Over time, this kind of loaded, stable overhead and racked work contributes to healthier, more resilient shoulders — as long as you are honest about your current range of motion and do not force positions your body is not ready for.
That upper-back and shoulder involvement is part of what gives this exercise such a good return on investment. In a single movement you are hitting the abdominals, the obliques, the upper back, the shoulder stabilizers, and the muscles that support good hip health through the walking pattern itself. Few exercises cover that much ground at once.
An Honest Note on Shoulder Mobility
It is worth being candid about a limitation here, because not every great exercise is right for every person. If you do not have great overhead shoulder mobility, the waiter carry position may force you to arch slightly to get the bell locked out, and that arching is exactly what you want to avoid. For lifters in that situation, this may not be an ideal exercise to program heavily, or it may be worth building overhead mobility first before loading it hard.
There is no ego in acknowledging that. Plenty of strong, capable lifters have restrictions that make certain overhead positions less than ideal, and a good coach programs around the athlete in front of them rather than forcing a movement that fights their structure. If the waiter carry side feels like a constant battle against your own back rather than your shoulder, scale the load down, shorten the distance, or substitute a different overhead-friendly carry while you work on mobility.
How to Perform It, Step by Step
Set up with a pair of kettlebells and enough open space to walk, or enough room to march in place if space is tight. Bring the first kettlebell into the front rack position, threading your hand through the horn and cocking your wrist back toward your chin so the bell settles against your shoulder. Press the second kettlebell overhead into the waiter carry, locking the arm out and actively reaching the knuckles toward the ceiling. As you set the overhead position, bring it up and stack it while keeping the front rack bell tight across your body, and reach tall without extending through your upper back.
Once both positions are set, keep your ribs pulled down, brace your trunk, and begin walking — or marching in place — while holding both bells rock-solid in their positions. Move with control, resist any urge to lean or arch, and stay tall through the whole set. When you finish the prescribed distance, carefully lower both bells, then switch sides so the front rack and overhead assignments swap. Both sides need equal work to keep you balanced.
Programming: Sets, Reps, and Distance
For distance, a range of roughly fifteen to twenty-five yards per side works extremely well. That is far enough to accumulate meaningful stability and trunk work without the positions breaking down from fatigue. For volume, two to four sets per side is a solid target depending on how you are using the exercise and where it sits in your session.
Remember that the waiter carry side will typically dictate your loading. Because stabilizing a bell overhead is so much harder than supporting one in the front rack, you will usually be limited by what you can control overhead. That is normal and expected — load each side appropriately rather than trying to force matched weights, and let the overhead position set the ceiling.
Where It Fits: Finishers, Conditioning, and Active Rest
One of the best things about this carry is how flexibly it slots into a program. It shines as a finisher at the end of a training session, giving you a big bang for your buck by hammering the abdominals, upper back, shoulders, and hips right when you want to accumulate quality work without a lot of setup. It also works beautifully inside a conditioning circuit alongside other carries and metabolic conditioning movements.
There is a clever way to use it as active rest, too. Because you are not swinging, jumping, or moving an implement explosively, a carry lets you keep working at a moderate effort in between higher-intensity pieces without truly resting. You are still under load, still bracing, still moving — but you are recovering relative to something like a kettlebell swing or an all-out conditioning burst. On top of that, it is fundamentally a locomotion exercise, and simply getting people to load up and walk well is enormously valuable. For the majority of trainees, more quality loaded movement is exactly what they need.
You can also use it as a warm-up to prime the trunk and shoulders before heavier work, or fold it into your conditioning days as a long-term staple. It flexes to fit a low-intensity, cardio-style approach or a higher-intensity role sandwiched between individual lifts. That versatility is a big part of why it deserves a permanent place in your toolbox.
Who Benefits Most
The short answer is almost everyone, but a few groups stand to gain the most. Wrestlers and combat-sport athletes live in a world of asymmetrical loading, scrambles, and positions where one side of the body is fighting while the other stabilizes — an offset carry trains exactly that anti-lateral-flexion and anti-rotation strength, along with the shoulder resilience and grip demands that carry directly to the mat. Powerlifters benefit from the midline stability and bracing skill, which transfers to keeping a rigid, stacked torso under a heavy squat or deadlift. General fitness clients get a safe, joint-friendly, full-body movement that builds real-world trunk and shoulder strength while getting them moving more. And anyone chasing better hip health and overall athleticism gets it baked right into the walking pattern.
If you need kettlebells to run this properly, a quality pair that you trust for both racked and overhead work makes a real difference in how the positions feel.
Common Mistakes to Avoid
The most frequent error is arching the lower back to force the overhead bell into position. Keep the ribs down and let the reach come from the shoulder, not the spine. The second common mistake is leaning away from the offset load instead of resisting it — you want to stay tall and stacked, not tip toward the lighter side. Letting the front rack elbow drift away from the body is another one, since it pulls the load off your center of mass and taxes your lower back. Finally, do not chase heavier weight at the expense of position. The instant your form breaks down, the exercise stops doing its job. Load what you can control cleanly, and the results will follow.
Final Thoughts
The offset kettlebell front rack carry with waiter carry packs an enormous amount of training value into a movement anyone can learn quickly. It builds a strong, stable trunk through anti-lateral flexion and anti-rotation, develops the shoulder stability and overhead health that keep you training for the long haul, and reinforces quality hip function through the carry itself — all while being flexible enough to serve as a finisher, a conditioning tool, an active-rest piece, or a warm-up. Respect your shoulder mobility, load each side honestly, keep your ribs down and your torso tall, and this simple walk with two kettlebells will pay off across nearly every training goal.