
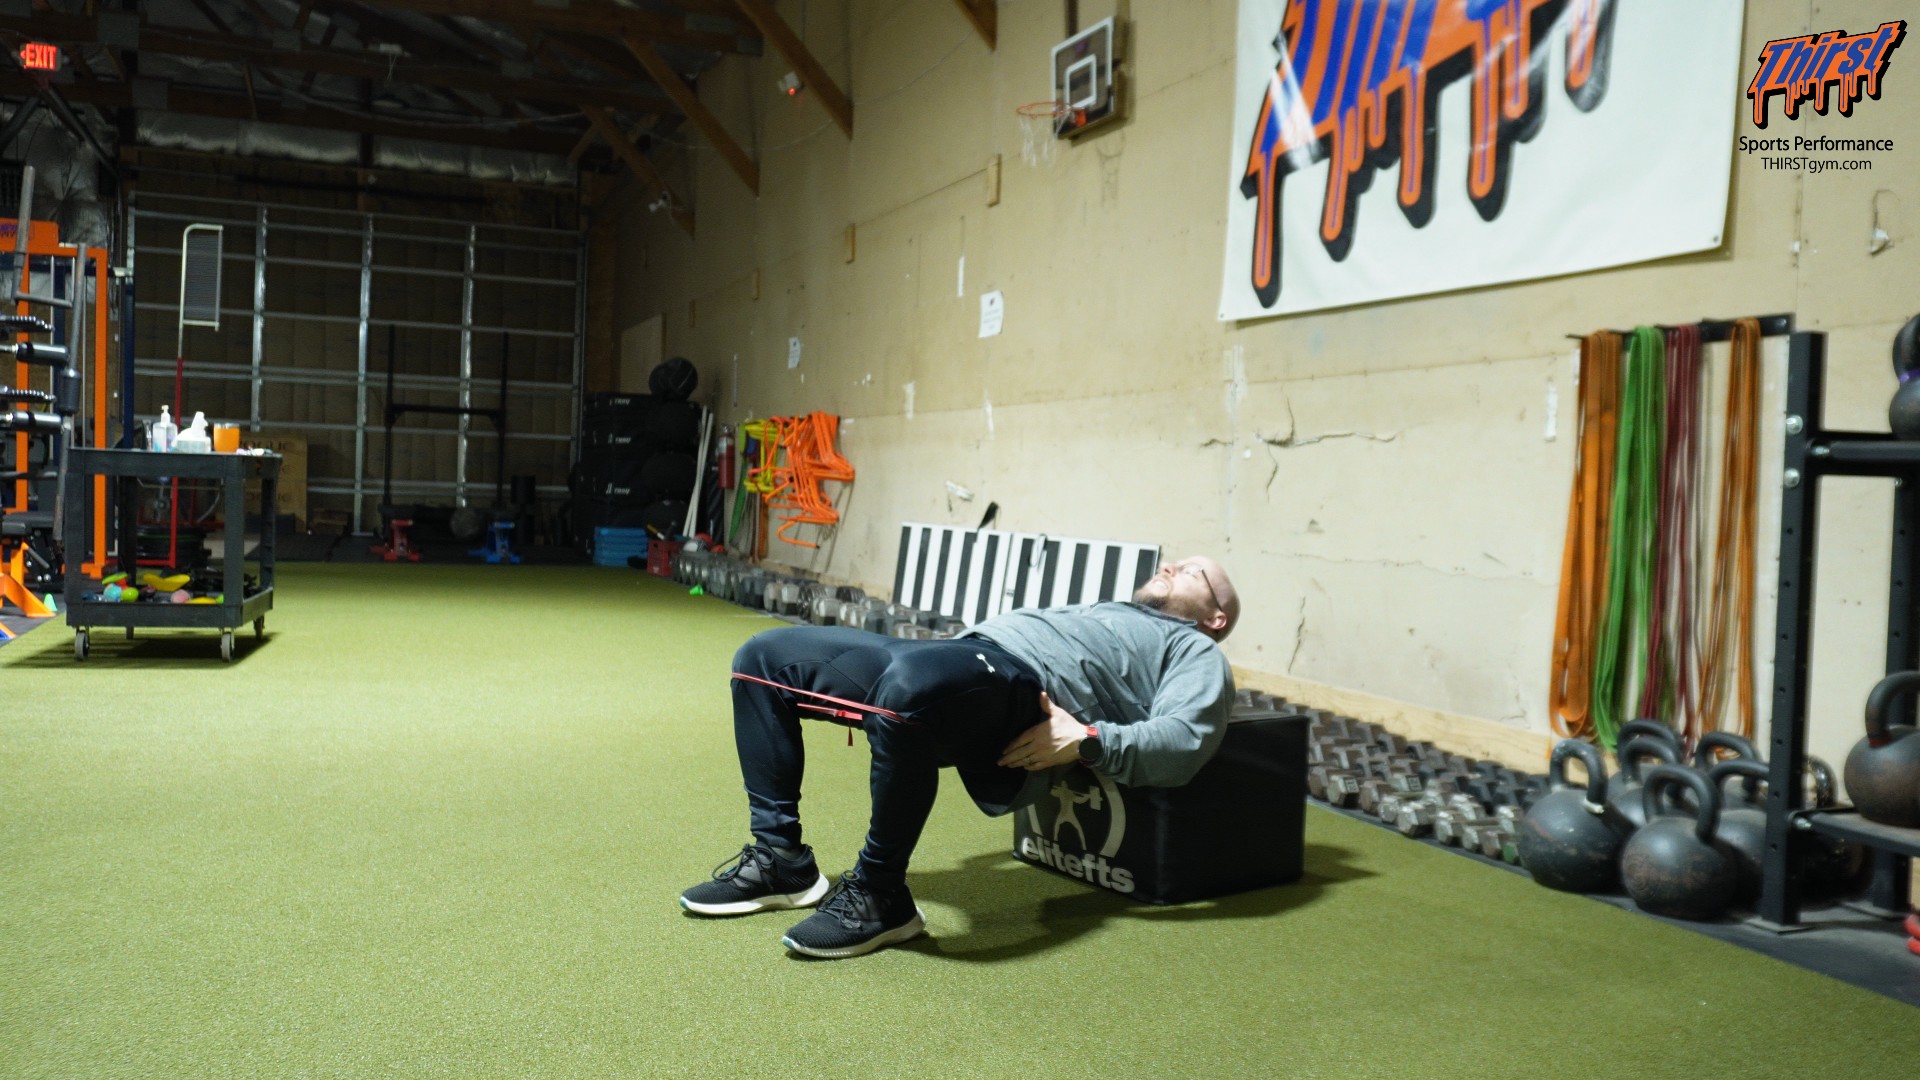
Back Elevated Banded Hip Abduction: The Glute Activation Drill That Teaches Athletes to Actually Feel Their Hips
Most lifters have done some version of a banded hip abduction. They lie on their side, loop a mini band around their knees, fire off twenty sloppy reps, and move on without ever feeling the muscles they were supposed to be waking up. The back elevated banded hip abduction fixes that. By propping your upper back on a bench and holding a bridge while you drive your knees apart, you take the lower back out of the equation and force the glutes and deep hip rotators to do the work they’re built for. It’s a simple activation drill, but done correctly it’s one of the fastest ways to teach an athlete what a working glute actually feels like.
This is a foundational movement I use at THIRST Gym to prep hips before we squat, deadlift, sprint, or wrestle. Below is everything you need to set it up, perform it well, and program it into your training.
Watch the video below on how to maximize this exercise.
What Is the Back Elevated Banded Hip Abduction?
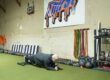
The back elevated banded hip abduction is a bridge-position glute activation exercise. You elevate your upper back on a box, bench, couch, or chair, place a mini resistance band around your legs, and drive your hips into a glute bridge. From that top position, you press your knees outward against the band, resisting on the way back in. Every rep combines an isometric hip extension hold with dynamic hip abduction and external rotation.
That combination is what makes it different from a standard clamshell or a side-lying band walk. You’re not just abducting the hip in isolation — you’re doing it while the glutes are already loaded and holding you up against gravity. The result is a much higher quality contraction and far more carryover to the positions that matter in the weight room and on the field.
Muscles Worked and Why This Exercise Matters
The primary movers here are the gluteus maximus, which extends the hip to hold the bridge, and the gluteus medius and minimus, which drive the knees out into abduction. The deep external rotators of the hip get involved as you resist the band, and you’ll usually feel the hamstrings and even the abdominals contributing to keep the pelvis stable.
Why does this matter? Strong, responsive hips are the foundation of nearly every athletic movement. Sprinting, cutting, jumping, squatting, and deadlifting all depend on the glutes firing on time and the hips producing force from a stable base. When those muscles are underactive or an athlete simply doesn’t know how to recruit them, the lower back and quads tend to take over — which is a recipe for compensations and eventually pain. This drill gives the nervous system a clear, low-stakes rep to reconnect with the hips before you ask them to do something heavy or explosive.
How to Set Up the Back Elevated Banded Hip Abduction
You need two things: a mini band and something to elevate your back. A short loop band that sits around the knees works best. For the elevation, I use a box squat box from EliteFTS, but a standard utility bench, a couch, a sturdy chair, or the edge of a bed all work just as well. You only need enough height to rest your shoulder blades and upper back while your hips hang below.
Loop the band around both legs. You can place it above the knees or below the knees depending on where you feel the most tension and control. I personally get the most effective contraction with the band positioned just below the knees, but experiment and use whichever feels strongest for you. Set your feet flat on the floor at roughly hip width, with your upper back supported and your hips off the ground.
How to Perform the Exercise Step by Step
Start by driving your hips up into a glute bridge. Push them as high as you comfortably can while keeping a straight line from your shoulders to your knees — the exact height will depend on how tall your bench or box is. The single most important cue: do not arch your lower back to reach the top. Instead, tuck the pelvis slightly into a gentle posterior pelvic tilt so your hips sit underneath you. You should feel your glutes and hamstrings holding the position, and you may even notice your abs switch on to keep everything stacked.
Once you’re locked into that bridge, drive your knees outward against the band as hard as you can. Feel the glutes and hip muscles fire as you abduct. Then, instead of yanking the knees back in, let the band pull them back toward neutral under control. Keep your feet flat the entire time and keep your hips extended throughout — you never want the bridge to sag or the low back to take over between reps.
That’s the whole movement: hold the bridge, press the knees out, resist the return, repeat. Every rep should be a deliberate, quality contraction rather than a rushed pulse.
Coaching Cues That Make the Difference
A few cues turn this from a throwaway warm-up into a genuinely useful drill. First, keep the feet flat and rooted — the moment the heels come up or the feet roll, you lose the glute connection. Second, own the posterior pelvic tilt so the work stays in the hips and not the lumbar spine; if you feel this in your lower back, drop your hip height and re-tuck the pelvis. Third, resist the band on the way in. The eccentric portion — controlling the knees back to neutral — is where a lot of the value lives, so don’t let the band snap your knees together. Finally, breathe and stay tall through the torso so the abdominals help stabilize the pelvis.
Common Mistakes to Avoid
The most common error is arching through the lower back to hoist the hips higher. This shifts the tension off the glutes and onto the spine, which defeats the entire purpose. The fix is a slightly lower bridge with an intentional pelvic tuck. The second mistake is letting the feet drift, lift, or roll outward, which disconnects you from the glutes. The third is rushing the abduction into fast, shallow pulses instead of pressing the knees out with intent and controlling the return. And the fourth is picking a band so heavy that you can’t maintain the bridge — if holding position becomes the hard part, the abduction quality falls apart. Match the band tension to your ability to keep clean form.
Why This Beats Standard Clamshells and Side-Lying Abductions
Plenty of athletes already do side-lying clamshells or standard band abductions, and there’s nothing wrong with those. The problem is how easy they are to phone in. Lie on your side and it’s simple to half-ass the reps, cheat with momentum, and never actually load the hip. By elevating your back and locking into a bridge, you remove most of those escape routes. Your feet have to stay flat, your lower back can’t arch, and the glutes have no choice but to work. You get far more isolated, higher quality work, and you actually feel the muscles engage the way they’re supposed to. For athletes who “can’t feel their glutes,” this is often the drill that finally makes it click.
Who Should Use This Exercise — and Who Doesn’t Need It
Not everyone needs a dedicated hip activation drill. Plenty of lifters already have strong, responsive hips and can walk straight into their working sets. But many athletes — especially those newer to structured training — genuinely struggle to recruit their glutes on demand, and this drill closes that gap fast. It’s excellent for wrestlers, grapplers, and combat athletes who live in their hips, for youth and developing athletes learning to feel their glutes for the first time, for powerlifters wanting a clean primer before squats and deadlifts, and for general fitness clients filling in gaps in their hip strength. If you fall into any of those groups, this belongs in your warm-up.
How to Program It: Sets, Reps, and Progressions
Treat this as an activation piece, not a max-effort lift. As a general warm-up before you train, one to two sets of ten to twenty reps is plenty, with the focus squarely on good quality contractions — let the band pull your knees in, drive them out, and keep the feet flat. As a standalone exercise at home to fill in gaps, one to three sets of ten to twenty reps does the trick. When you want more challenge, level up your band tension by stacking multiple bands or moving to a heavier strength band. You can also play with band placement above versus below the knee to change where you feel it most.
Because it’s an activation drill, I don’t program it as a main exercise for anyone. Its job is to get things going, get the hips feeling good, and prepare you to squat, deadlift, run, and do the athletic work that actually drives progress. Do it well, then go train.