
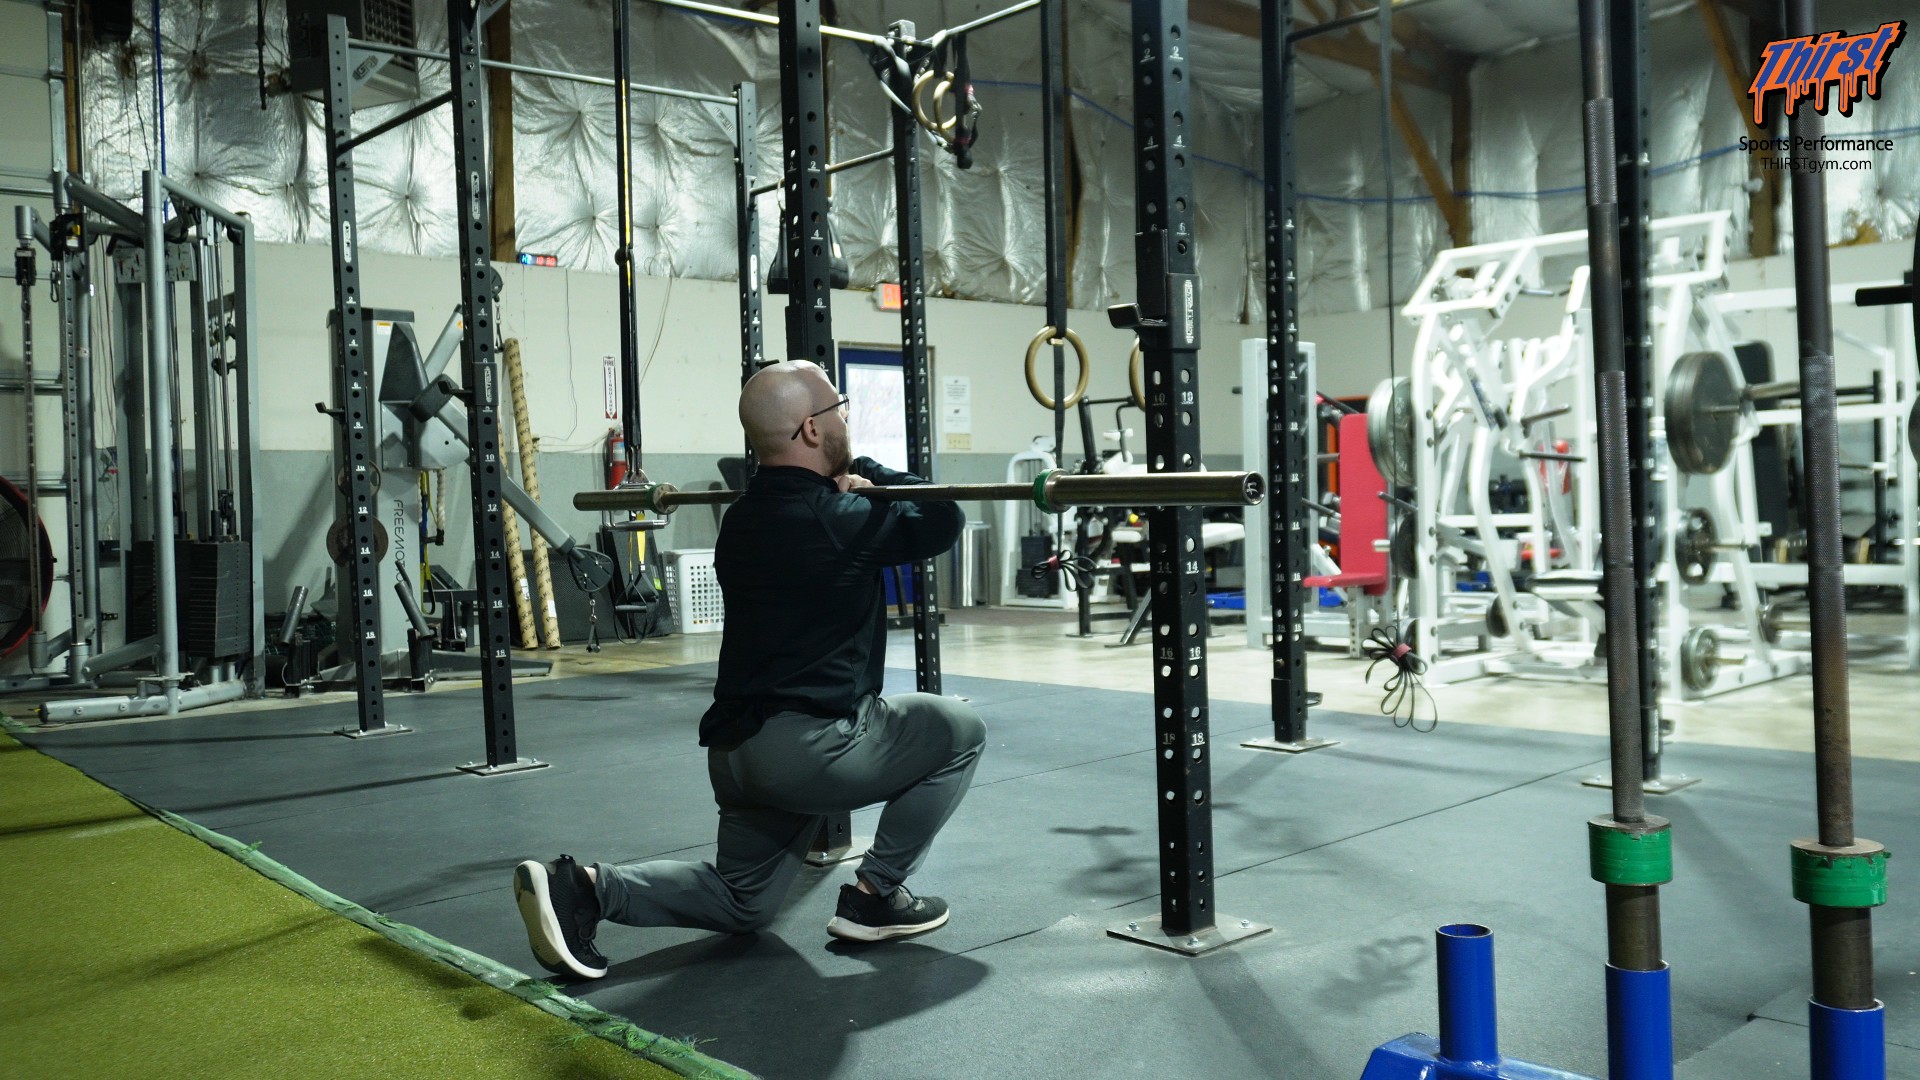
The Front Rack Barbell Split Squat: Load Your Single-Leg Strength Heavier Than Ever
If you’ve been searching for a way to make your single-leg training genuinely heavy—not just “burn out the legs” heavy, but real, loadable, strength-building heavy—the front rack barbell split squat deserves a permanent spot in your toolbox. It’s one of the most underrated unilateral lower-body exercises available, and it solves a problem that plagues most lifters and athletes: dumbbells and kettlebells eventually run out of load, but the barbell never does.
Below is a complete breakdown of how to set up, execute, and program this movement, along with the coaching details that separate a sloppy split squat from a productive one.
Watch the video below on how to maximize this exercise.
What the Front Rack Barbell Split Squat Trains
At its core, this is a unilateral lower-body strength exercise. By placing one leg forward and one leg back and driving straight up and down, you shift the majority of the load onto the front leg, forcing it to do the work that a bilateral squat would normally distribute across both sides.
The front leg’s quadriceps and gluteus maximus are the primary movers, with the adductors and hamstrings contributing heavily to stabilize the hip and control the descent. Because you’re standing on a narrow base with a barbell loaded across the front of your body, the exercise also demands a great deal from your anterior core, upper back, and thoracic spine. The front rack position, in particular, forces you to stay tall and resist collapsing forward, which is exactly why it carries over so well to athletic positions and heavier front squat work.
This combination—a heavy single-leg demand paired with a strong postural challenge—is what makes the movement so valuable. You’re not just building one leg at a time; you’re teaching the whole system to stay organized under load.
Why Choose the Front Rack Position
There are plenty of ways to load a split squat: dumbbells at your sides, a goblet hold, a back-racked barbell, a safety squat bar. So why the front rack?
The front rack keeps the load in front of the body, which encourages a more upright torso and a more vertical shin-to-hip relationship. That upright posture directs the work into the quads and glutes while sparing the lower back from the forward lean that a back-loaded bar tends to create. It also lets you keep stacking weight on the bar long after your dumbbells have maxed out. If your gym’s heaviest dumbbells are 100 pounds and you’ve outgrown them for single-leg work, a barbell in the front rack instantly removes that ceiling.
There’s a second benefit worth mentioning: the front rack position itself is a trainable skill. If you compete in weightlifting or use the clean in your programming, spending time under the bar in this position builds the mobility and comfort you need for cleans and front squats. The exercise pays you back on more than one lift.
Equipment You’ll Need
The setup is refreshingly simple. You’ll need a barbell and a power rack, rig, or squat stand—whatever you use to hold the bar. Set the rack height to your normal front squat position so you can walk into the bar and unrack it cleanly without having to lift onto your toes or dip too far under. That’s it. No specialty bars, no bench, no bands. This minimalism is a big part of the movement’s appeal: it’s a heavy single-leg option for lifters who are limited on equipment.
How to Set Up and Grip the Bar
Once the bar is set at front-squat height, step under it and settle it into the front rack. You have two grip options.
The first is the cross-arm method. Bring your arms across the body, rest the bar on the front of your shoulders, and hold it in place with your fingers. This is the grip most athletes will want to default to, especially when the goal is to load the weight up heavy. It’s secure, it’s forgiving on wrist and elbow mobility, and it lets you focus on the legs rather than fighting to hold the bar.
The second option is the clean grip—the same front rack you’d use in your weightlifting movements, with the elbows driven high and the bar resting on the shoulders and fingertips. Use this variation if you specifically want to reinforce your clean and front squat positions. For most people whose only goal is loading the split squat, though, the cross-arm grip is the more practical choice.
Whichever grip you use, get fully set before you unrack.
Executing the Rep
With the bar secure, unrack it. I prefer to unrack from a staggered stance—one foot slightly ahead of the other—because it makes the step-out smoother and keeps me balanced from the very first inch. You can also unrack with your feet even and step back from there; it’s a matter of personal preference.
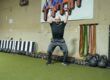
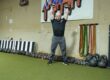
Take a brief step back into your split squat stance: one leg forward, one leg back. The front foot stays completely flat on the floor. The back foot rides up on the toes. From here the movement is simple and vertical—you go straight up and down. Lower under control until your back knee taps the ground or gets relatively close, then drive back up to the start position.
A few points make the rep productive rather than wasteful. Keep your whole front foot flat and rooted; letting the front heel lift is a common leak that shifts the load off the target muscles. Let the front knee track forward naturally over the foot—you don’t want it shooting dramatically past the toes, but you also shouldn’t try to push your hips back and sit down like a box squat. This is an upright, knee-friendly pattern, not a hip-hinge. Stay tall through the torso, keep the elbows up, and don’t let the chest cave under the bar.
When you’ve finished your reps, step forward and re-rack the bar the same way you took it out.
The One Real Drawback
Every exercise has a tradeoff, and this one’s is balance. Getting into the front rack with a heavy load on each side of the bar, then stepping back into a narrow split stance, can feel cumbersome—especially the first few sessions before you’ve grooved the setup. There’s a genuine coordination demand in walking out heavy weight and finding your balance on one leg.
That’s the honest downside. But it’s also a skill that improves quickly with practice, and the payoff is access to loads you simply can’t reach with dumbbells or kettlebells. For a lifter who has only a barbell to work with, or who’s outgrown their gym’s other loading options, that tradeoff is more than worth it.
Common Mistakes to Avoid
The most frequent errors show up in the same handful of places. Letting the front heel rise pulls tension out of the glutes and quads and puts unnecessary stress on the knee—keep that foot flat. Turning the movement into a box squat by sitting the hips back changes the exercise entirely and usually means you’re avoiding the harder, more upright pattern that makes it effective. Allowing the torso to fold forward under the bar tells you the load has beaten your anterior core and upper back; if that keeps happening, drop the weight and rebuild. Finally, rushing the descent so the back knee slams the floor turns a controlled strength movement into a bouncy, low-value one. Own the eccentric, tap or come close, and drive up with intent.
Who Should Use It
This movement fits a wide range of trainees. For combat sports athletes—wrestlers, MMA fighters, and grapplers—single-leg strength translates directly to the changes of direction, level changes, and one-legged power demands of the sport, and the postural challenge of the front rack reinforces the tall, braced positions those athletes fight from. Powerlifters can use it as heavy accessory work to bring up unilateral weaknesses and bulletproof the knees and hips without piling more axial fatigue on the spine than a bilateral squat would. Youth and developing athletes benefit from learning to control and load a single leg early. And general fitness clients get a joint-friendly, highly scalable way to build lower-body strength that carries into everyday life.
How to Program It
You can use the front rack barbell split squat in two main ways, and the rep ranges shift depending on which role it plays.
As a standalone general strength exercise for the lower body from a unilateral perspective, you can push it in harder, heavier sets in the range of three to five reps per leg. Treat it like a compound movement and give it the respect you’d give any heavy lift.
As a supplemental or accessory exercise layered into the rest of your training, a slightly higher range of five to eight reps per leg tends to work well. It supports your primary lifts without competing with them.
Across the board, I like two to four sets for the desired rep range, adjusting based on the goal of the session.
One programming note worth emphasizing: I don’t recommend chasing very high reps here. Because you’re holding a barbell in the front rack, the position itself becomes tiring long before the legs give out, and grinding out long, high-rep sets tends to break down your posture rather than build your legs. Use this movement as a heavier, compound-based option. When you genuinely want higher-volume, higher-repetition single-leg work, reach for dumbbells or kettlebells instead and save the barbell for the heavy days.
Final Thoughts
The front rack barbell split squat isn’t flashy, but it fills a specific and important gap: it lets you load single-leg strength as heavy as your barbell will allow, using nothing more than equipment almost every gym already has. Dial in the front rack, keep the movement vertical and controlled, respect the balance demand, and program it as a heavier compound lift rather than a burnout finisher. Do that, and you’ve got one of the best unilateral strength builders available.