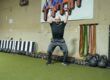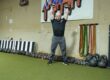

Front Rack Barbell Front Foot Elevated Split Squat: Technique, Programming, and Why It Belongs in Your Training
Single leg training has a reputation problem. For a lot of lifters and athletes, it’s the thing you do at the end of the session, half-heartedly, with a pair of dumbbells that don’t challenge you, because you know you’re supposed to do “unilateral work” but nobody ever explained why it matters or how to actually load it. The result is a training block full of split squats that never get heavier, never get harder, and never produce the strength or the resilience you were hoping for.
The front rack barbell front foot elevated split squat solves that problem. It takes a movement pattern most people treat as accessory filler and turns it into a legitimate strength exercise — one you can load heavy, progress over time, and use to build serious size and strength in the quads, glutes, and hamstrings while also demanding a level of trunk stiffness and positional control that carries over directly to the squat, the clean, and to sport.
This is a movement worth learning properly, because the setup details matter more here than they do on almost any other single leg variation.
Watch the video below on how to maximize this exercise.
Why the Front Foot Elevated Split Squat Is Different
Start with the base movement. A standard split squat is a staggered stance position where the front foot and the back foot are both on the floor, and you descend until the back knee approaches the ground. It’s a great pattern. It builds the quads, it loads the glutes, it teaches you to produce force from a split position, and it does all of that with far less spinal loading than a bilateral squat.
The problem with the standard split squat is that it eventually runs out of room. Once your back knee touches the floor, that’s the bottom. There’s nowhere else to go. You can add load, but you can’t add range of motion, and range of motion is one of the most powerful drivers of hypertrophy and strength adaptation available to you.
Elevating the front foot on a one to two inch surface changes that. Now the front leg is starting from a slight deficit, which means the hip on the working side has more distance to travel before the back knee reaches the floor. That extra range shows up as more time under tension for the quads, and more importantly, it takes the glutes and hamstrings of the front leg into a deeper stretched position under load. If you’ve ever wondered why your split squats feel like they hammer your quads and do almost nothing for your glutes, insufficient hip flexion is usually the culprit. The deficit fixes that.
The second thing the elevation does is shift your center of mass. With the front foot slightly higher, the torso can stay more upright and the mass sits a little further back over the mid-foot and heel of the front leg. That’s part of why this variation feels more stable than it should, and it’s what allows you to push up and back out of the bottom rather than fighting to keep from tipping forward.
There’s also a practical benefit that gets overlooked. Some lifters simply cannot achieve depth on a flat-ground split squat. Ankle mobility, hip structure, limb lengths — whatever the reason, they hit a wall and start compensating by leaning forward or letting the front heel come up. Elevating the front foot often lets those same lifters sink straight down into a much deeper position while staying tall through the torso. Compare that to a Bulgarian split squat, where the rear foot elevation increases the demand on the trailing hip and pushes many lifters into a forward lean whether they want it or not. If depth has been your limiting factor, the front foot elevated variation is frequently the answer.
Equipment and Setup
You need a barbell in a power rack or a rig, and you need something to stand on.
For the elevation, anything in the one to two inch range works. A DC block is ideal because it’s a stable, purpose-built platform with a flat surface and no roll. A standard 45 pound plate will do the job. A low wooden platform or a jerk block works fine too. What you want is a surface that will not shift, will not tip, and gives your whole front foot a place to sit flat. Do not use anything rounded, wobbly, or so tall that it turns the movement into a step-up.
Set the barbell at the same height you’d use for a front squat. You’re going to have to unrack it, walk it out, and get into position, so give yourself enough clearance to lift it out cleanly.
The Front Rack Position
You have two options for how you hold the bar, and both are legitimate.
The first is the clean grip front rack. Elbows driven high, bar resting across the front delts and the collarbone shelf, fingers under the bar with a relaxed hook. This is the position you’d use in a weightlifting context, and if you have the wrist and shoulder mobility for it, it’s a rock-solid rack that keeps the elbows up naturally.
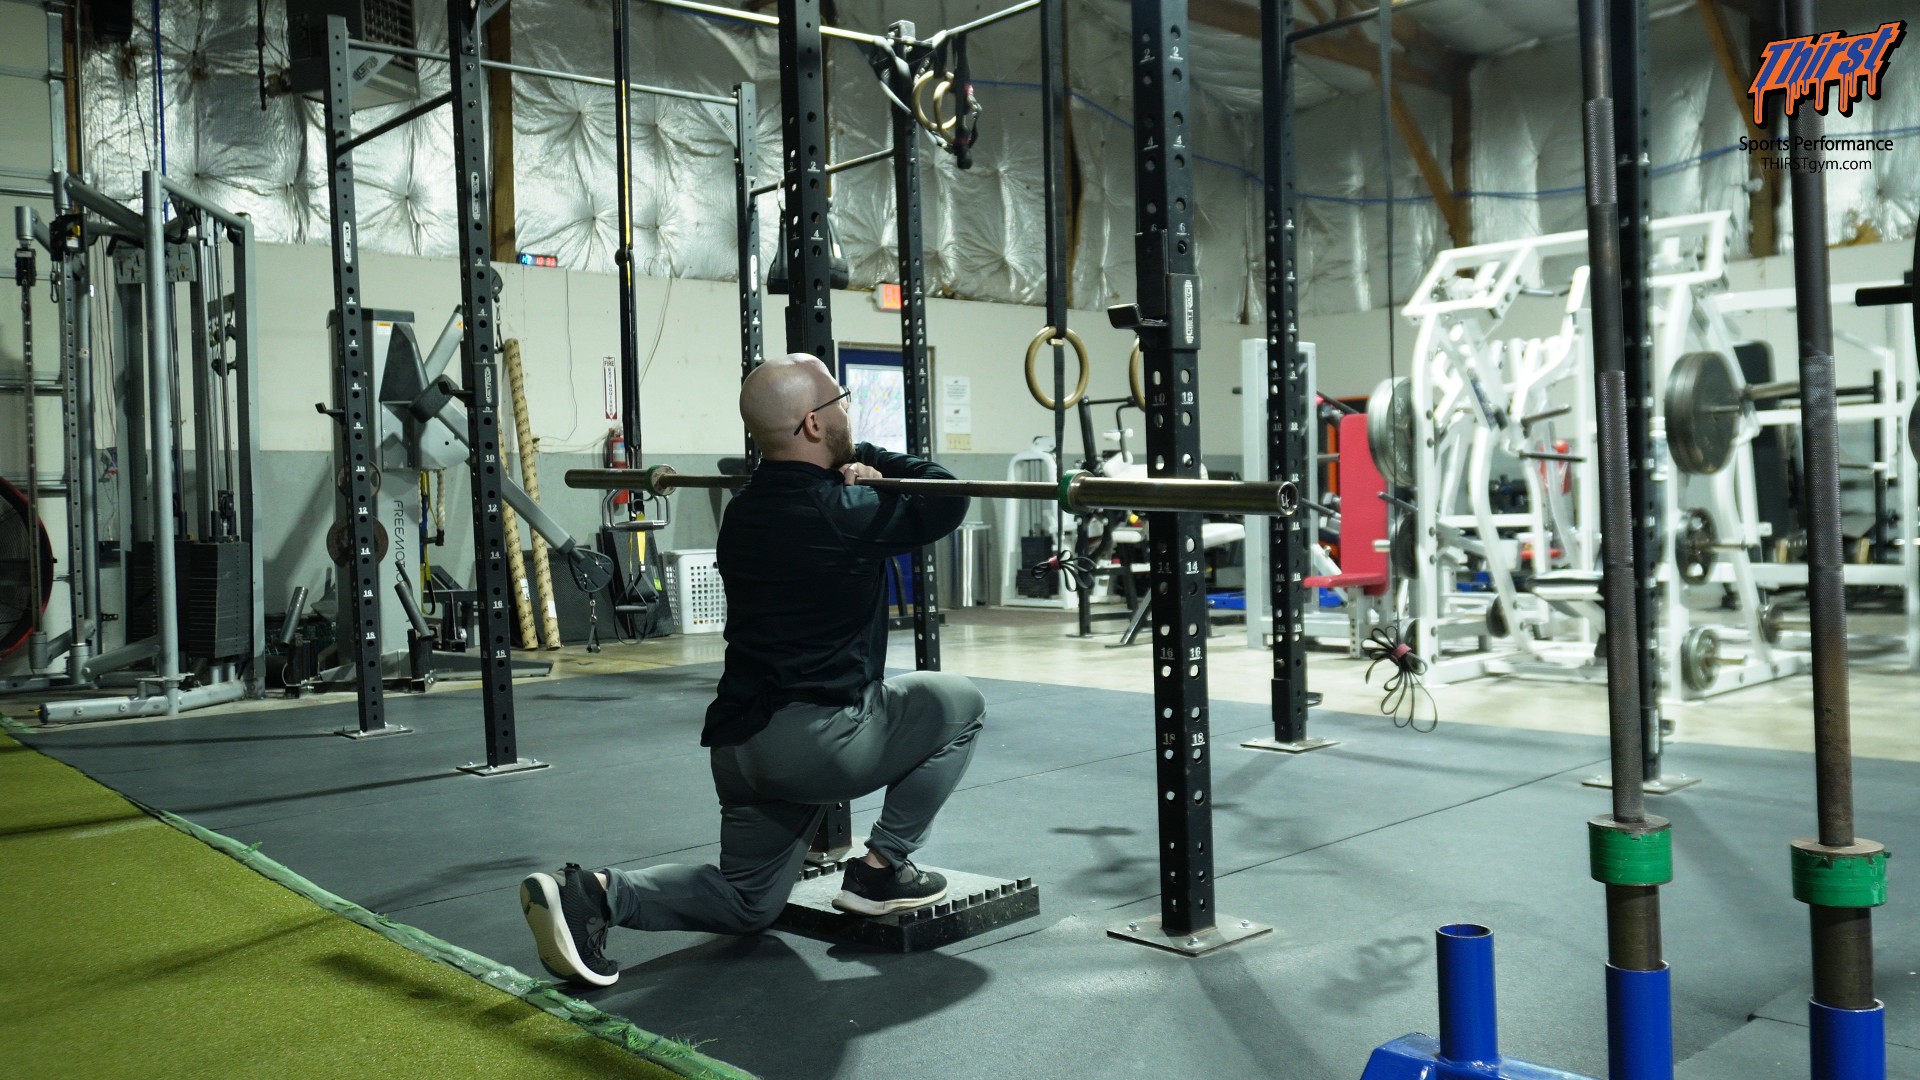
The second is the cross-arm rack. Arms crossed in front of the body, hands on top of the bar, elbows driven up and forward. This is the position I use with most of my athletes on this exercise. Not because it’s superior mechanically, but because it’s a practical choice. We already get plenty of clean grip work in the front squat and in our Olympic lift variations, so the cross-arm rack lets us load this movement without piling more wrist and elbow stress on top of everything else. It also takes about ten seconds to teach.
Whichever you choose, the non-negotiable is that the bar sits high on the shoulders, resting on the collarbone shelf, not floating out in front of you on your arms. If the bar drifts forward, the elbows drop, the thoracic spine rounds, and now you’re doing a good morning with a barbell balanced on your fingertips. Elbows stay up and tall, all the way through the set.
Step by Step Technique
Set the block or plate on the floor at the appropriate distance in front of the rack. Get under the bar, secure your rack position, and unrack the barbell by standing up through both legs. Take a step back and get settled.
Place your front foot completely flat on the block. The whole foot — heel, mid-foot, toes. If your heel is hanging off the back or your toes are hanging off the front, you don’t have a stable base and you’ll spend the set fighting for balance instead of producing force. Your back leg goes behind you, up on the toe, with a comfortable amount of stagger. Too short a stance and you’ll get pushed forward; too long and you’ll feel it in the front of the hip on the back leg.
From there, brace your trunk, keep the elbows up and tall, and descend under control. You’re looking for the back knee to touch the ground or get relatively close to it. Stay upright through the descent. The front shin will travel forward somewhat, and that’s fine and expected. What you’re chasing is roughly 90 degrees of hip flexion on the front leg while the torso stays vertical.
Out of the bottom, push up and back. That cue matters. You’re not just standing up — you’re driving through the front foot with the intent to move the hips back over the front leg rather than letting everything shoot forward over the toes. Push up and back, return to the start position, and either finish your reps on that side or switch.
Switching legs is where this exercise gets a little annoying, and it’s worth being honest about that. You have two choices. You can re-rack the barbell, reset your feet, and unrack again for the second side. Or you can hold the bar in the rack position while you switch stance. I personally prefer to re-rack, reset, and go again, because the front rack position is fatiguing on its own and I’d rather my athletes stay fresh for the working reps. If you’re going to hold it and switch, just make sure you can actually breathe. A heavy front rack compresses the chest and it is entirely possible to gray out standing in the middle of your rack shuffling your feet around. Be smart about it.
Muscles Worked
The front leg quad is the primary driver, and because of the deficit, it’s working through a longer range than it would on a flat-ground variation. The glute max on the front leg takes on significant load out of the deep hip flexion position, and the hamstrings contribute both as hip extensors and as stabilizers of the knee.
The back leg is not just along for the ride. The hip flexors and quad on the trailing side are working in a lengthened position, which over time is a genuinely useful adaptation for sprinting, wrestling, and any sport that demands hip extension range under load.
Then there’s everything above the waist. The front rack position turns this into a serious trunk exercise. The bar is trying to pull you forward and down, and the only thing preventing that is your upper back, your abs, and your ability to hold a tall posture under fatigue. Anti-flexion strength, thoracic extension endurance, and bracing are all being trained here whether you intended them to be or not.
Common Mistakes
The most common mistake is a bar that drifts forward with elbows that drop. This turns the exercise into a lean-forward grind and takes the load off the front leg. Fix it by attacking the rack position: elbows up, bar on the shelf, upper back tight.
The second is chasing depth by leaning forward instead of sinking down. If the torso pitches over to get the back knee to the floor, you’ve defeated the purpose of the elevation. Stay tall and let the range come from the hip.
The third is an unstable elevation surface. If you’re on a wobbly platform or your foot is half on and half off, your nervous system will limit how hard you can push. Get a stable block and put your whole foot on it.
The fourth is a stance that’s too short. A short stance drives your knee way over your toes and shifts everything into an ankle-dominant position. Give yourself a real stagger.
The fifth is balance loss as the weight climbs, which is less a technique error and more an inherent feature of the exercise. As plates go on the bar, the balance demand goes up. This is worth knowing going in, because it means your first heavy sets on this movement will feel harder than the load justifies. That’s normal. Stability improves quickly with exposure.
Programming the Front Rack Front Foot Elevated Split Squat
The reason to put a barbell in your front rack for a single leg movement is load. Dumbbells and kettlebells cap out. Grip fails, the implements get unwieldy, and you end up doing a forearm endurance test instead of a leg exercise. The barbell removes that ceiling, which is exactly why I treat this as a general strength or supplemental compound lift, not as a finisher.
When I’m using it as a strength exercise, I’m looking at three to five reps per side, pushed hard and heavy. This works especially well in season for athletes, where the goal is maintaining and building strength without the systemic cost of heavy bilateral squatting. You get a meaningful strength stimulus with less spinal loading and less total fatigue.
When it’s serving more as a supplemental or accessory lift, particularly in the offseason, five to eight reps per side is my preferred range. That’s enough volume to drive some real hypertrophy in the quads and glutes without the front rack position becoming the limiting factor.
If I want more volume than that, I go back to dumbbells or kettlebells. There is a point at which holding a barbell in the front rack for high rep single leg work becomes a breathing and bracing challenge rather than a leg training stimulus, and once you cross that line you’re no longer training what you set out to train.
Two to four working sets per leg is my usual prescription, adjusted for where we are in the training week and what the primary lift of the day was.
Who Should Be Doing This Exercise
Powerlifters benefit from the unilateral quad and glute development, and from a way to build leg strength that doesn’t hammer the spine the way a heavy squat does. It’s a strong choice as a second or third lower body movement on squat day, or as a primary lower body lift on a lighter day.
Combat sports athletes, wrestlers, grapplers, and fighters get a lot out of this pattern specifically. Sport happens from split stances. The ability to produce force from a staggered position, out of deep hip flexion, while maintaining an upright, braced trunk is not an abstraction for these athletes.
Field and court sport athletes get the same benefits plus the in-season loading advantage. You can keep athletes strong through a competitive season with this movement at a much lower recovery cost than a heavy back squat.
Youth and developing athletes benefit from the positional demands. Learning to hold a front rack, brace a trunk, and control a deep split position under manageable load is foundational work that pays off for years.
And for general fitness clients, this is simply a very good leg exercise that builds strength, exposes and addresses side-to-side differences, and trains a movement pattern that shows up constantly in daily life.
Progression and Regression
If the front rack is the limiting factor, regress to a safety squat bar or a back rack position while you build the mobility to hold the bar up front. If the deficit is too aggressive, start on a lower surface, or start flat and add the block once the pattern is clean. If balance is the issue, own the movement with a lighter load for a few weeks before you start pushing intensity — stability is a skill and it responds fast to practice.
To progress, add load first. When load stalls, add a rep. When you’ve exhausted both, you can extend the range slightly with a taller block, though beyond about two inches you start to change the character of the exercise rather than improve it.
The Bottom Line
The front rack barbell front foot elevated split squat is one of the most complete lower body exercises available. It gives you the range of motion of a deficit movement, the loading capacity of a barbell lift, the unilateral demand of a single leg exercise, and the trunk and upper back challenge of a front squat, all in one movement. It’s harder than it looks, it’s more useful than most people give it credit for, and it deserves a permanent place in the rotation for anyone serious about building strong, resilient legs.
Set the block, get the elbows up, sink straight down, and push up and back. The rest takes care of itself.