
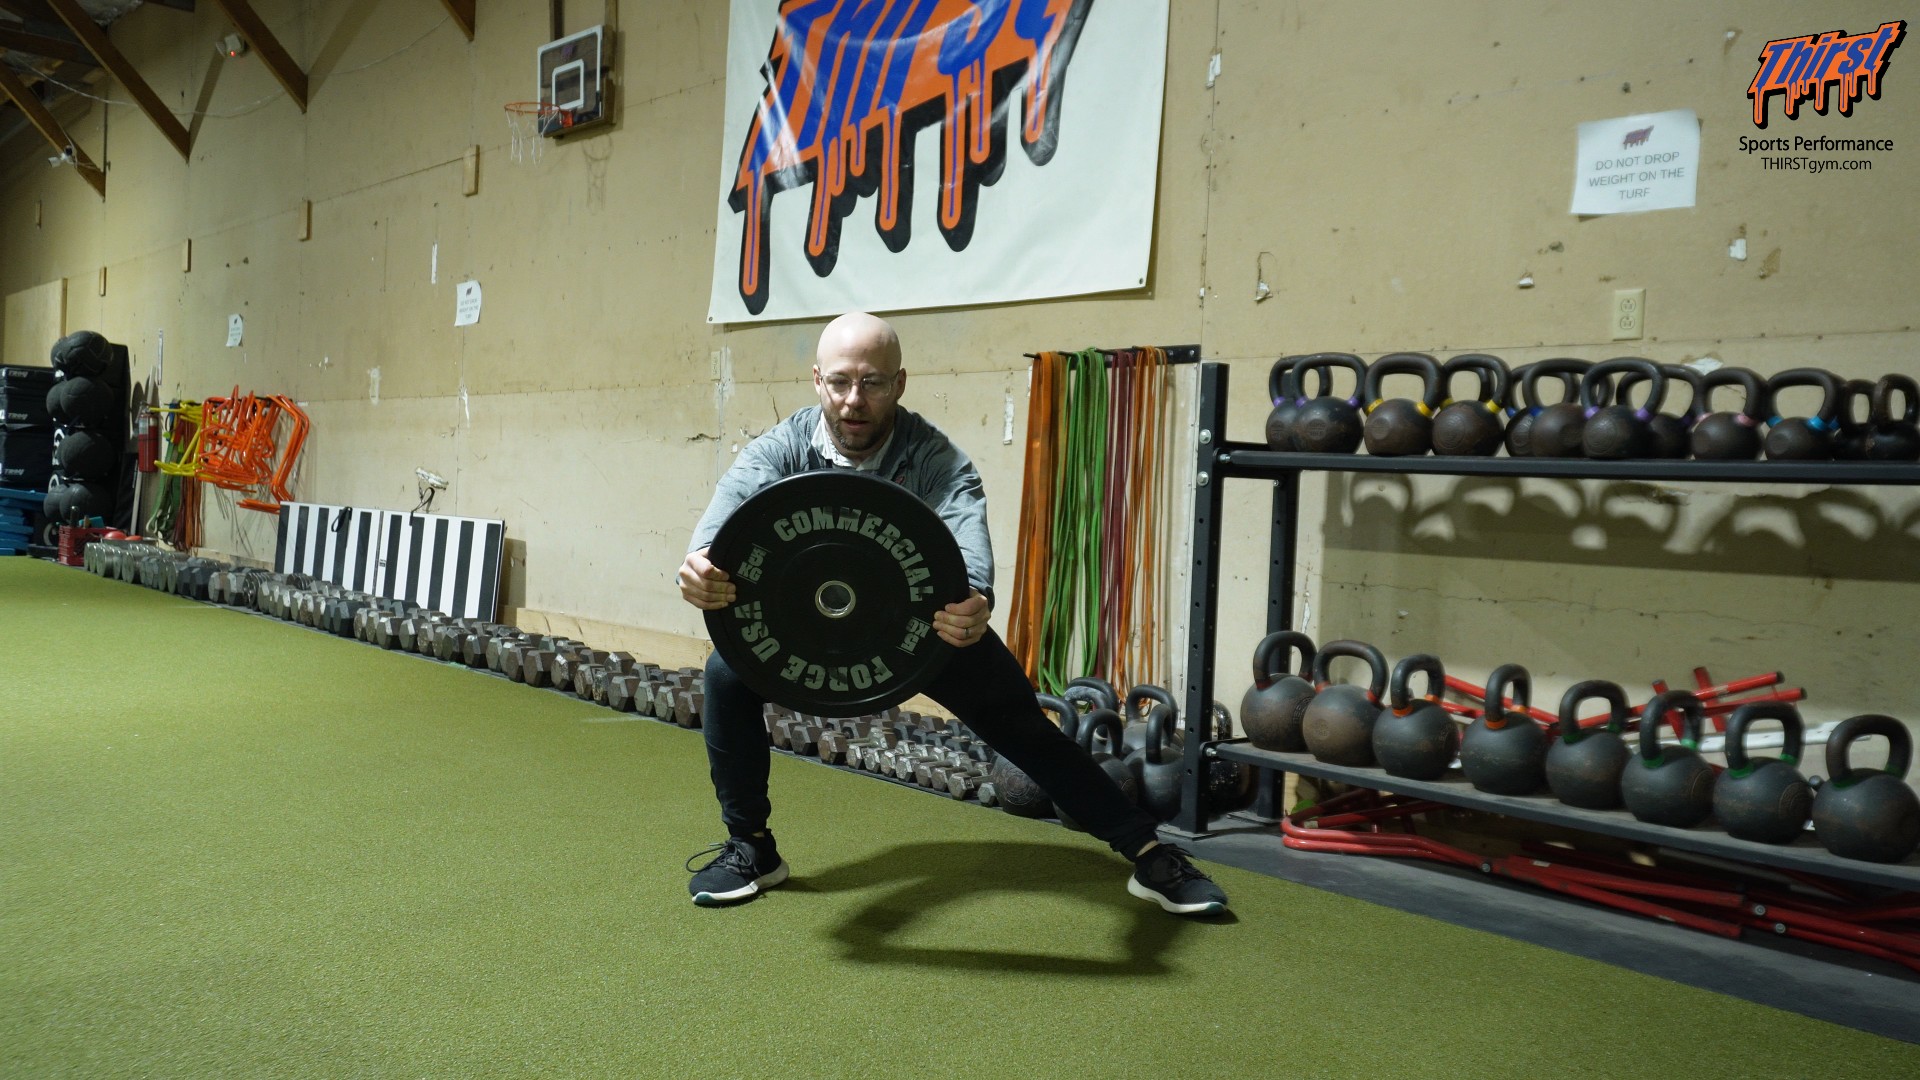
The In-Place Lateral Lunge with Plate Reach: Building Bulletproof Frontal-Plane Hip Mobility
Most lower-body training lives in a single direction. We squat up and down, we deadlift up and down, we lunge forward and backward. All of that vertical and forward-and-back work happens in what coaches call the sagittal plane, and it’s where the vast majority of strength training takes place. But the human body wasn’t built to move in only one direction, and athletes in particular spend enormous amounts of time shuffling, cutting, and shifting weight side to side. If your training never challenges you in the frontal plane — moving laterally rather than forward — you’re leaving a huge piece of athletic capacity and hip health on the table.
The in-place lateral lunge with plate reach is one of the simplest, most effective ways to start closing that gap. It’s a teaching exercise first and foremost: a low-risk, low-load drill that teaches you how to load a hip, lengthen your adductors, and build confidence shifting your bodyweight from side to side. Master this, and you’ve opened the door to a whole family of more advanced lateral lunge variations that can be loaded heavily and used to build serious lower-body strength and resilience.
Watch the video below on how to maximize this exercise.
Why Lateral Lunges Belong in Your Program
The adductors — the muscles of your inner thigh and groin — are some of the most overlooked and undertrained muscles in the entire body. They’re powerful hip stabilizers and play a massive role in decelerating and changing direction. When they’re stiff, weak, or simply unfamiliar with being loaded in a stretched position, you end up with cranky hips, limited mobility, and a much higher risk of groin strains and lower-body injuries.
The lateral lunge directly addresses this. As you shift into one hip, the trailing leg straightens and the adductors of that leg are loaded under a deep, controlled stretch. At the same time, the working hip learns to sit back and accept load through a range of motion that most lifters rarely visit. You’re simultaneously building mobility, stability, and strength in a pattern that carries over to sprinting, cutting, wrestling, grappling, and nearly every field and combat sport on the planet — not to mention healthier, more capable hips for everyday life.
The problem is that for a lot of people, the lateral lunge feels foreign and awkward the first time they try it. They don’t know how far to step, where to put their weight, or how to keep their balance. That’s exactly where the in-place plate-reach version earns its keep.
What You’ll Need
The beauty of this exercise is that the equipment requirement is minimal. All you need is a single light plate. A bumper plate is ideal because it’s easy to grip, but it isn’t required — a standard 5- or 10-pound iron plate of the kind you’d load onto a barbell works perfectly well.
The most important coaching point regarding the load is restraint. This is not the time to grab a 25- or 45-pound plate and turn the drill into a strength challenge. The plate here serves two purposes: it gives your hands something to hold and it acts as a counterbalance. A 5- or 10-pound plate (roughly 5 kilograms) provides everything you need. Going heavier defeats the purpose, compromises your positioning, and turns a learning tool into a struggle. Keep it light, keep it clean, and let the movement teach you.
Setting Up Your Stance
Start by taking a wide stance — think of the position you’d use for a sumo deadlift. Your feet should be set well outside shoulder width. Because this is the in-place variation, there’s no stepping involved; you’ll plant your feet and shift between them rather than stepping out and back. That alone removes a layer of complexity and makes it far easier to learn the pattern.
Foot angle matters more than most people realize. You want your toes pointed only slightly outward — somewhere in the range of 5 to 15 degrees. The common mistake is to turn the toes way out toward a 45-degree angle, and that small detail quietly sabotages the whole movement. When your toes are flared out too far, your knees drift out to the side as you lunge, the loading shifts away from the hip and groin, and you lose the clean mechanics that make this drill so valuable.
With your toes relatively forward, your knee will naturally track over your midfoot as you shift into the lunge. That’s exactly what you want: a knee that follows the line of the foot, a hip that loads properly, and an adductor stretch that goes where it’s supposed to go.
Performing the Movement
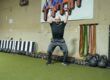
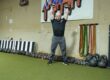
Hold the plate at chest level with both hands. From your wide, slightly toed-out stance, begin shifting your weight into your right hip. As you do, reach the plate forward and away from your body.
That reach is the secret ingredient. As you sink into the right hip, the trailing left leg stays long and the foot stays flat on the floor — you should feel a big, satisfying stretch through the inner thigh and groin of that straight leg. Meanwhile, reaching the plate out in front of you acts as a counterbalance. By shifting a small amount of weight forward and away, you allow your hips to sit back and down into the working side far more easily than you could without it.
Without the counterbalance, most people fall backward or feel like they can’t sit into the hip at all. With it, the plate offsets your center of mass and effectively gives you permission to load the hip deeply and confidently. You’ll find you can sit back further, access more range, and feel stable doing it.
Once you’ve reached the bottom of the lunge and loaded the hip, pull the plate back to chest level as you return to the starting position. The cadence is simple: lunge and reach, then pull back. Lunge and reach, then pull back. Work one side for your prescribed reps, then shift over and load the other hip the same way.
As you repeat the movement, pay attention to what the counterbalance is doing for you. It’s not just a balance aid — it’s actively teaching your nervous system that sitting deep into a loaded hip is safe. That growing confidence is what unlocks more mobility over time.
Common Mistakes to Avoid
A few errors show up again and again with this exercise. The first, as mentioned, is flaring the toes out too far, which pulls the knee off track and dilutes the hip and groin loading. Keep the toes relatively forward.
The second is letting the trailing foot peel off the floor or collapse. That trailing leg should stay long, and the foot should stay flat — that’s what produces the adductor stretch that makes the drill worthwhile. If your foot is rolling onto its edge or lifting, your stance is probably too narrow or you’re trying to go deeper than your current mobility allows.
The third is loading the plate too heavily, which we’ve already covered but is worth repeating because it’s so tempting. This is a learning and mobility tool. The moment it becomes a grind, you’ve defeated its purpose.
Finally, watch the depth. The goal is to eventually reach roughly 90 degrees of knee bend in the lunge while staying controlled and balanced. Don’t force it on day one. Let the range build naturally as your hips open up and your confidence grows.
Who Benefits Most From This Exercise
This drill is genuinely useful for almost everyone, but a few populations get outsized value from it.
Combat sports athletes — wrestlers, grapplers, and MMA fighters — live in wide, low, laterally loaded positions. Building hip mobility and adductor strength directly supports shooting, sprawling, scrambling, and defending takedowns. The in-place lateral lunge is a fantastic on-ramp to that capacity.
Powerlifters and strength athletes who pull sumo or squat with a wide stance benefit enormously from healthier, more mobile hips and stronger adductors. Time spent here often translates into a more comfortable bottom position and better positioning under heavy loads.
General fitness clients and older adults gain real-world resilience. Side-to-side movement and the ability to load a hip safely are exactly the qualities that keep people moving well as they age.
How to Program It
For most clients and athletes, this exercise fits beautifully as a teaching and mobility drill. Program it for 2 to 3 sets of 6 to 12 reps per side, with the focus squarely on learning the pattern: getting comfortable shifting side to side, sitting into each hip, and lengthening the groin under control. The reps aren’t about fatigue — they’re about quality reps that build a motor pattern.
If you’re a more advanced lifter who already owns the pattern, the in-place lateral lunge with plate reach makes an excellent warm-up. Use it before you squat, deadlift, sprint, or train your sport. A couple of light sets primes the hips and adductors, opens up your frontal-plane range, and prepares your body for the heavier or more explosive work ahead.
Where to Go From Here
The in-place lateral lunge with plate reach is a stepping stone, not a destination. Once you can comfortably reach about 90 degrees in the lunge, balance well throughout the movement, and feel confident loading each hip, you’ve effectively graduated. From there you can progress to stepping lateral lunges, then to loaded variations using dumbbells, kettlebells, or a goblet hold, and eventually to heavier loaded lateral lunges that build genuine lower-body strength in the frontal plane.
But none of those advanced variations will feel right until the foundation is in place. Spend the time to master this version first. Get the stance right, keep the load light, use the counterbalance, and build the confidence to sit into your hips. Your knees, your hips, your groin, and your performance will all thank you for it.
If you have any questions about the in-place lateral lunge with plate reach or how to fit it into your program, I’d love to hear from you. Train smart, build those hips, and keep moving well.