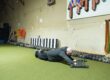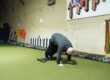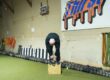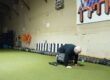

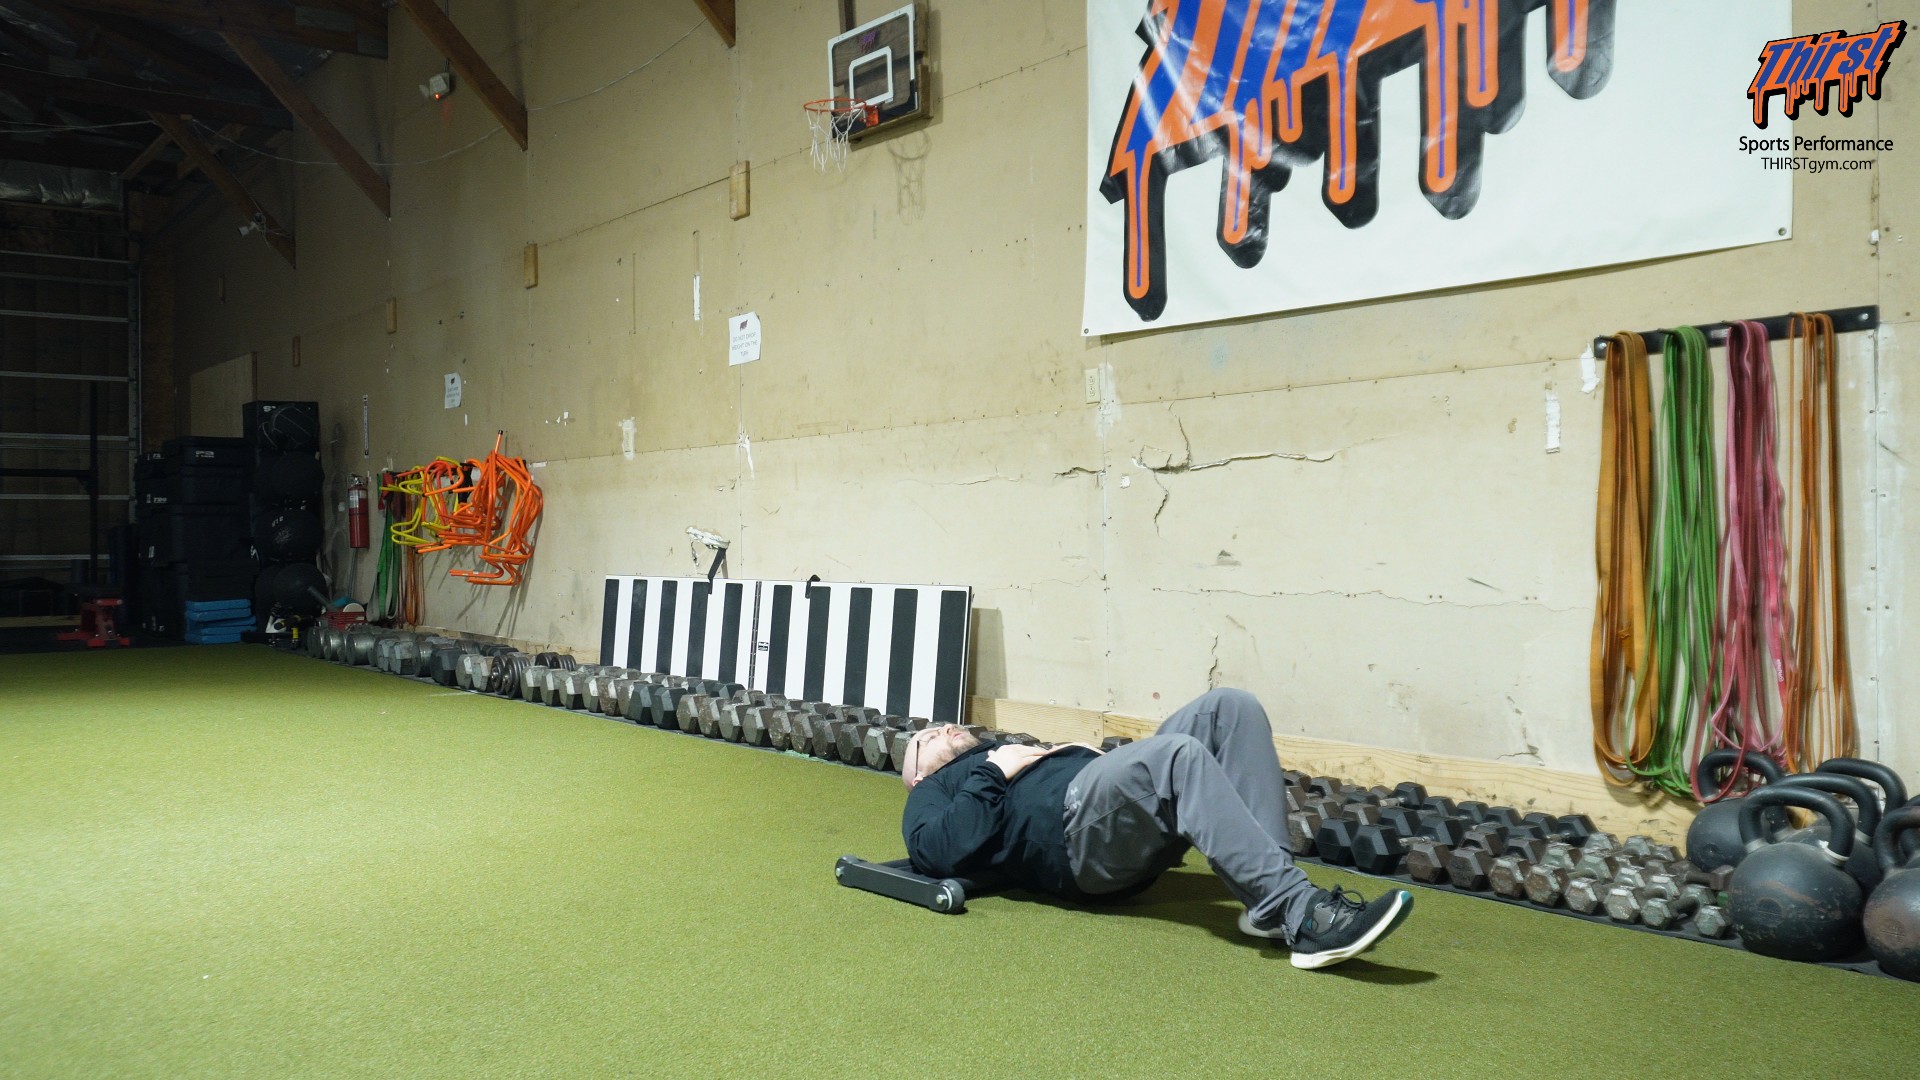
Glute Ham Roller Hamstring Walks: The Concentric-Only Finisher Your Hamstrings Are Missing
The hamstrings are one of the most frequently injured muscle groups in sport, and most training programs don’t do them any favors. Walk into any weight room and you’ll see the same handful of hamstring exercises on repeat: Romanian deadlifts, leg curls, Nordic curls, maybe some glute ham raises if the facility is equipped for it. Every one of those movements is valuable, but they share a common trait. They lean heavily on the eccentric, the lengthening phase, where the muscle is producing force while being stretched. That eccentric emphasis is exactly why those exercises leave you sore for days, and it’s also why they can be tough to program when an athlete is deep into a competitive season and can’t afford to be beat up.
There’s a gap here that most coaches never fill. Concentric-only knee flexion work rarely shows up in a program, and that’s a shame, because it opens up a way to build hamstring strength and resilience without the accumulated soreness that comes from heavy eccentric loading. The glute ham roller hamstring walk fills that gap beautifully. It torches the hamstrings, it doubles as prehab and preventative work, and because it primarily trains the concentric, it slots into an in-season plan without wrecking your athletes. It’s the kind of exercise that earns a permanent spot in your finisher rotation once you understand what it’s actually doing.
Watch the video below on how to maximize this exercise.
What the Glute Ham Roller Hamstring Walk Actually Trains
To understand why this movement is worth your time, you have to look at what’s happening at the joint. When you’re lying on your back with your hips bridged and you extend one leg out long, you’re placing the hamstring in a lengthened position at the hip. From there, when you dig your heel in and pull yourself across the floor, you’re driving knee flexion. That combination is the whole point. You’re loading the hamstring near end range at the hip and then asking it to do work at the knee, which is where a huge amount of hamstring function lives, particularly the portion of the muscle down toward the knee joint.
What makes this exercise genuinely unique is that the work is almost entirely concentric. In most hamstring movements, the muscle has to control the lowering phase, absorbing force as it lengthens under load. Here, you’re pulling yourself forward through knee flexion and then resetting, which means the hamstring is shortening under tension without a heavy braking demand on the way back. That concentric-dominant profile is rare, and it’s what allows you to accumulate meaningful hamstring work without the deep muscle damage that leaves an athlete limping into practice the next day. If you’ve ever wanted a way to keep developing hamstring strength during the season without paying for it in soreness, this is one of the cleanest answers available.
There’s a second layer worth mentioning. Because you’re holding a bridge the entire time, the glutes and the posterior chain as a whole are working to keep your hips up off the ground. You’re getting some hip extension endurance folded into the exercise almost for free. It’s not the primary driver, but it’s a nice bonus that reinforces good posterior chain positioning under fatigue.
Equipment You’ll Need and How to Set Up
The setup is simple, but a couple of details matter. You’ll need a glute ham roller, and just as importantly, you’ll want a good amount of open floor space, because this is a traveling exercise. You’re going to move, so plan accordingly. A stretch of turf, an open lane in the weight room, or any smooth surface where the roller can glide will do the job.
Start by positioning yourself on the roller so that your upper back rests across the middle of it. If lying directly on the roller feels uncomfortable against your spine, place an Airex pad or similar cushion between your back and the surface to take the edge off. Comfort here isn’t a luxury; if you’re distracted by an unforgiving surface pressing into your back, you won’t be able to focus on driving through your hamstrings.
Once you’re positioned, set your pelvis directly underneath you and perform a slight glute bridge. You should feel a little hip extension and light activation through your glutes. This bridge is your working position, and you’ll hold it throughout the set. Keep your head relatively back and neutral rather than craning it forward. From there, take one leg and extend it out as long as you can, plant the heel, and begin pulling yourself forward. That’s the entire movement. You’re walking yourself across the floor using the roller, alternating legs, driving through knee flexion with each pull.
Coaching Cues That Make or Break the Exercise
The single most important cue is to keep your hips up. This exercise lives and dies on hip position. As soon as you let your hips sag toward the floor, you lose the tension on your hamstrings and the whole stimulus falls apart. The moment you feel yourself stop feeling your hamstrings, check your hips first, because that’s almost always the culprit. Think of it as holding a quasi-bridge for the entire duration of the walk. You’re not resting between pulls; you’re maintaining that elevated hip position from the first heel plant to the last.
The second cue is to reach long with the leading leg. The further you extend before you plant and pull, the more you emphasize that lengthened hamstring position and the more range you get out of each rep. Short, choppy pulls turn this into a shuffle that never really challenges the muscle. Reach, plant, pull, reset, and repeat with intention.
Finally, keep your pelvis tucked underneath you and your glutes lightly engaged. That pelvic position is what keeps the load where you want it and prevents the movement from turning into a low-back exercise. When athletes lose their hamstrings on this drill, it’s usually because the hips dropped and the pelvis rolled out of position.
The Most Common Mistake to Watch For
If you take away one troubleshooting point, make it this: sagging hips are the number one error. It happens gradually. An athlete starts a set with beautiful hip height, and as fatigue sets in over the yards, the hips creep lower and lower until they’re practically dragging along the floor. Once that happens, the hamstrings get a break they shouldn’t be getting, and the athlete is essentially just scooting along without training the target muscle.
Coach the hip height relentlessly. If you’re watching an athlete perform this and you see the hips dropping, that’s your signal to either cue them up or call the set. There’s no value in grinding out extra distance with sagging hips, because at that point you’re no longer doing the exercise you set out to do. Quality of position beats quantity of distance every time here.
How to Progress and Add Load
For most athletes, bodyweight and distance will provide plenty of challenge to begin with. But once someone owns the basic version with solid hip position, there are a couple of clean ways to level it up.
The most straightforward progression is to add external load to the chest. Have the athlete hold a weight plate or dumbbell against their chest so they’re pulling more than just their body weight across the floor. This increases the total resistance the hamstrings have to overcome with each pull and turns a prehab finisher into a genuine strength challenge.
A second option doubles as a solution for facilities without an Airex pad. Instead of cushioning the back with a pad, place a 25- or 45-pound plate or a bumper plate on the roller and have the athlete rest their back against it. This accomplishes two things at once: it provides a surface between the athlete and the roller, and it adds loading to the system so the athlete is again moving more than body weight alone. It’s a resourceful way to increase the training stimulus with equipment you already have on hand.
Whichever loading method you choose, keep the same standard in place. If adding weight causes the hips to sag or the positioning to break down, the load is too much. Build the loading progressively the same way you’d build the distance, adding a little at a time as the athlete demonstrates they can maintain quality.
Programming: Sets, Distance, and In-Season Use
Programming this one is refreshingly simple. Two to three sets across a variety of distances tends to be the sweet spot. For distance, use the space you have and try to cover the furthest stretch available to you. If you’re just introducing the movement or working with less-conditioned athletes, start in the range of 10 to 15 yards and build from there. In a well-equipped facility you might have as much as 25 yards to work with, which makes a great upper limit for a challenging set.
The ideal placement is toward the end of a training session as a finisher. You’ve done your heavy work, your primary lifts are in the books, and this is the drill that leaves your athletes’ hamstrings thoroughly cooked on the way out the door. It’s also excellent as standalone prehab or preventative work on days when you want to give the hamstrings some attention without a major loading commitment.
The in-season application is where this exercise really separates itself. Because it’s primarily concentric, it lets you continue developing hamstring strength during the competitive season without generating the soreness that would compromise practice or performance. That’s a rare and valuable quality. Most hamstring work has to be dialed back in-season precisely because of its eccentric demand, but this drill can stay in the rotation when other movements get pulled. If you coach athletes who compete over a long season, that alone makes it worth learning.
Who This Exercise Is For
The short answer is nearly everyone, but a few populations stand to benefit most. Field and court athletes who sprint, cut, and decelerate are constantly asking their hamstrings for high-speed force production, and the injury risk that comes with it makes preventative hamstring work non-negotiable. This drill gives them a low-soreness way to keep building resilience year-round.
Combat sports athletes and wrestlers, who need durable posterior chains for scrambling, level changes, and grinding positions, will find it fits naturally into a conditioning-heavy program without adding to their recovery burden. Powerlifters and general strength athletes can use it as accessory work to bring up hamstring development, particularly through the knee-joint action that heavier compound lifts don’t always emphasize. And because it’s competitive and simple to teach, it works well with groups. You can turn it into a challenge among athletes, racing to cover distance while maintaining position, which is exactly the kind of thing that makes a finisher fun rather than a chore.
Final Thoughts
The glute ham roller hamstring walk isn’t flashy, but it solves real problems. It trains the hamstring through knee flexion in a way most exercises overlook, it delivers a concentric-dominant stimulus that keeps soreness manageable, and it stays useful in-season when your other hamstring work has to be scaled back. Set it up right, keep those hips up, reach long with each pull, and give it two to three sets of the longest distance your space allows. Drop it in as a finisher and watch your athletes rethink how much they thought they knew about their hamstrings. If you’ve got questions about programming it into your own athletes’ training, that’s exactly the kind of thing worth working through in detail.