
The Seated Vertical Jump: How to Build Explosive Power and Rate of Force Development
If you want to jump higher, run faster, or drive off the mat with more force, you have to train the ability to produce power from a dead stop. That is exactly what the seated vertical jump develops. It is one of the most underrated plyometric exercises in strength and conditioning, and it requires almost no equipment. Whether you are a competitive athlete chasing a bigger vertical, a coach programming for a team, or someone training at home with nothing but a chair, the seated vertical jump belongs in your toolbox.
In this article, we will break down what the seated vertical jump is, why it works, how to set it up correctly, and how to program it into your training so you get the most out of every single repetition.
Watch the video below on how to maximize this exercise.
What Is the Seated Vertical Jump?
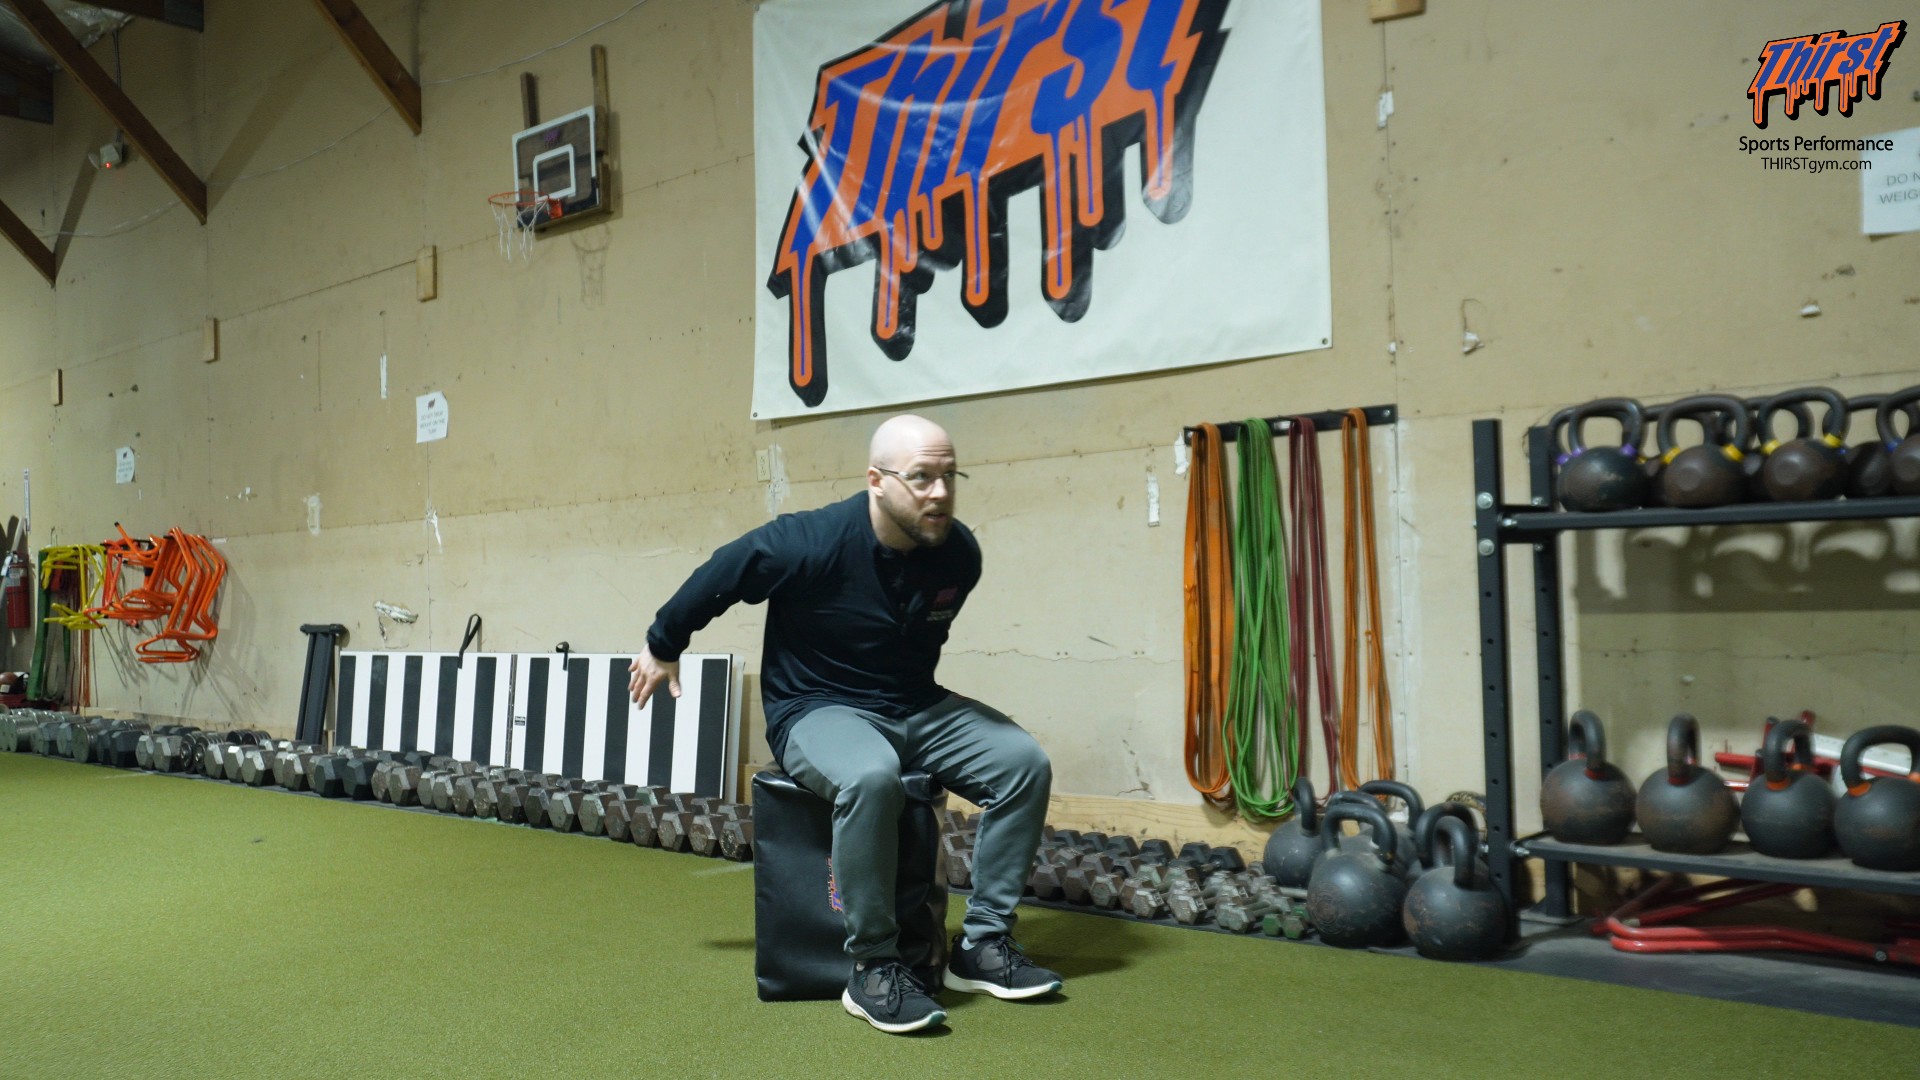
The seated vertical jump is a plyometric exercise performed from a seated position on a box. Instead of starting from a standing countermovement (where you dip down and immediately spring back up), you begin fully seated, pause, and then explode straight up into a maximal vertical jump. After each jump, you land under control and return to the seated position before starting the next repetition.
By removing the countermovement and the stretch-shortening cycle that comes with a standing jump, the seated version forces your muscles to generate force from a static, disadvantaged position. There is no elastic “bounce” to borrow from. You have to create all of the power yourself, right now, from a standstill. That single quality is what makes this exercise so valuable.
Why the Seated Vertical Jump Works: Rate of Force Development
The primary training target of the seated vertical jump is rate of force development, often abbreviated as RFD. Rate of force development describes how quickly you can produce force. It is not the same thing as maximal strength. Two athletes can squat the same amount of weight, but the one who can express that strength faster will jump higher, accelerate harder, and win more collisions.
When you jump from a standing position, your body uses the stretch-shortening cycle. As you dip down, your muscles and tendons store elastic energy, and then release it on the way up, almost like a rubber band. This is a real and trainable athletic quality, but it can also mask a weakness in pure, from-scratch force production.
The seated vertical jump strips that away. Starting from a dead stop teaches your nervous system and muscles to fire hard and fast off the ground, delivering that first big push of power without any elastic assistance. This is the same quality a wrestler needs to explode into a shot, a lineman needs to fire off the ball, or a sprinter needs to drive out of the blocks. If an athlete needs to improve how quickly they get off the ground, the seated vertical jump is one of the most direct ways to train it.
What Equipment You Need
One of the best things about this exercise is how little you need to perform it. All you require is:
A small amount of open space. You are jumping vertically and landing roughly in place, so you do not need much room.
A box to sit on. An adjustable box is ideal, especially if you coach multiple athletes of different heights, because you can quickly change the seat height to fit each person. If you do not have an adjustable box, any stable surface at an appropriate height will work.
That is it. No hurdles, no specialized plyometric equipment, no barbells. This simplicity is part of what makes the seated vertical jump such a flexible option for coaches and home trainees alike.
Setting the Box Height Correctly
Box height matters more than most people realize. As a general rule, you want the athlete to start from a position just slightly above 90 degrees of hip and knee flexion. In other words, the hips should sit a touch higher than parallel, not sunk into a deep squat.
There are two reasons to avoid starting too low. First, getting out of a deeply flexed hip position is genuinely difficult, and the exercise stops training explosive power and starts becoming a grind. Second, most athletes are never going to need to produce a jump from that deep of a hip flexion in their sport. Training from a position slightly above 90 degrees keeps the movement athletic, transferable, and focused on power rather than raw effort out of a hole.
If you are working with a group, the ability to dial the box up or down quickly for each athlete is a real advantage. Set each person up so they are just above parallel, and you will get cleaner, more powerful reps across the board.
Where to Sit on the Box
You have two options for how to position yourself: on the corner of the box or on the side. Both work, and it comes down to personal preference, but there are reasons to consider the corner.
Sitting on the corner of the box lets you sit back a little more toward the box, which keeps your feet from being impeded by the edge of the box when you set your stance. It gives your legs a clean line to load and drive from.
Sitting on the side is also perfectly acceptable, and it has one nice benefit worth mentioning: it lets you swing your arms freely without smacking them into the box behind you. Since a big, aggressive arm swing is part of a maximal jump, having unobstructed room for your arms can help. Try both and use whichever setup lets you produce the most power without getting in your own way.
Foot Position: Jump Stance, Not Squat Stance
This is one of the most important and most overlooked details of the seated vertical jump. Your foot position for jumping is not the same as your foot position for squatting or landing.
When you set up for a goblet box squat or prepare to absorb a landing, your feet are typically outside your hips in a wider, more stable base. But that wide stance is not where you produce the most power in a jump. For maximal vertical output, you want to bring your feet in closer, into your natural jump stance. This is usually slightly narrower than a squat or landing stance, roughly under or just inside the hips, mirroring the position you would naturally jump from if someone told you to jump as high as you can right now.
Setting your feet in this jump-specific stance puts you in the strongest position to drive vertically and get the most out of the exercise. Keep your feet flat throughout the setup. You do not want to be up on your toes before you jump.
How to Perform the Seated Vertical Jump
Here is the movement, step by step, in a single continuous flow:
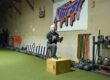
Start seated on the box, just above 90 degrees of hip flexion, with your feet flat and set in your jump stance. To initiate the jump, bring your arms back behind you and let your chest travel slightly forward. This is your loaded, ready position, and it sets up a powerful arm swing. Keep your feet flat, not on your toes.
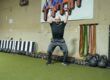
From there, drive up as hard and as high as you possibly can, swinging your arms up overhead to help pull your body upward. The intent is a maximal effort jump every single time. There is no such thing as a lazy or half rep here.
Then land, absorb the landing under control, and return to the seated position on the box. Reset completely. Then repeat: explode up as high as you can, land, and return to the box.
The key is that each repetition begins from a true dead stop on the box. You are not bouncing off the box or using any rhythm. Sit, pause, and produce.
Sticking the Landing and Building Stiffness
The landing is not an afterthought. Ideally, you want to stick the landing just slightly above the box and then sit back down onto it under control. If your box height is set close to your standing landing position, sticking the landing and returning to the box can be nearly the same motion. For most people, their hips will finish just slightly off the box before they settle back down.
The landing also gives you a built-in feedback loop, which is one of the most useful coaching aspects of this exercise. If an athlete is jumping and simply crashing through the landing, falling straight through until their backside hits the box hard, that tells you they are not controlling their deceleration. That is your cue to coach more stiffness and control into the landing. Teaching an athlete to absorb force and create stiffness on landing is every bit as important as teaching them to produce force on the way up. It protects them and it makes them more powerful athletes.
Breaking Up the Repetitions
Because rate of force development is the goal, how you sequence your reps matters. The mistake to avoid is jumping, touching the box, and immediately springing into the next jump using momentum. That turns the exercise into a bouncing drill and defeats the purpose.
Instead, break the repetitions up. After each jump, fully return to a settled, dead-stop seated position before initiating the next rep. Every jump should start fresh from that static position, because that is what trains the from-scratch power you are after. As with the majority of your plyometrics, the priority is quality over quantity, with high effort and full intent on every single repetition.
How to Program the Seated Vertical Jump
For programming, a reliable starting point is three to five sets of three to six repetitions. This keeps the total volume low enough that every rep stays crisp, explosive, and high quality, which is exactly what you want from a power exercise focused on rate of force development.
Because plyometric quality drops off quickly once fatigue sets in, resist the urge to chase high rep counts. If reps start looking slow or landings get sloppy, the set is done. Longer rest between sets is your friend here, since power output depends on being fresh.
Place the seated vertical jump early in your session, after your warm-up but before heavy strength work or when you are still fresh, so your nervous system can deliver maximal output on each jump.
Who Should Use This Exercise
The seated vertical jump is a great fit for a wide range of athletes and goals:
Athletes who need explosive starting power. Wrestlers, combat sport athletes, football players, and anyone who has to generate force from a stationary or disadvantaged position will benefit from the RFD emphasis.
Athletes working on their vertical jump. Basketball, volleyball, and other jumping athletes can use it to build the raw force production that underpins a bigger vertical.
Strength athletes. Powerlifters and other strength-focused athletes can use it as an accessible way to train speed and power without adding significant joint stress or complex equipment.
General fitness clients. Anyone looking to move better and add a little athleticism to their training can use it as an approachable entry point into plyometrics.
A Perfect At-Home and No-Equipment Substitution
One of the most practical uses of the seated vertical jump is as a substitution when you do not have access to plyo boxes, hurdles, or other plyometric equipment. If your gym is short on gear, or you are training at home, you can literally perform this exercise from a sturdy chair. That makes it an excellent way to keep your plyometric progressions going and to mix up your power training no matter where you are or what you have available.
Final Thoughts
The seated vertical jump is simple, accessible, and remarkably effective at building the one quality that separates good athletes from explosive ones: the ability to produce force fast from a dead stop. Set your box just above 90 degrees, bring your feet into a true jump stance, load your arms, and drive up with maximal intent on every rep. Stick your landings, reset fully between reps, and keep your volume low enough that quality never slips.
Program it for three to five sets of three to six quality repetitions, place it early in your session, and use it whether you are in a fully equipped facility or working out of your living room with a chair. Train it consistently and you will build a faster, more powerful first push off the ground.